
Builders' Forum |
|
| ↓ Scroll to Last Comment ↓ | Forum Guidelines | Builders' Forum | |
Having an issue bending the supplied 1/8' pieces of cedar to the stem forms. The radius is tight and I've already cracked on piece. I'm going to try steaming. How have others achieved stem construction without cracking? Should we be bending all the pieces together or individiually. Do I need to plane 1/8 thickness to a smaller thickness. Other suggestions please. Thanks
6 replies:
RE: Mystic River Stem lamination
Sme problem on my Mystery. Soak the strip in water then use a heat gun to bend into shape. Do one strip at a time.
RE: Mystic River Stem lamination
Thanks - you gents have answered a couple of questions. Do the bends individually or all together was one I had. I've taken a look at the spouses old clothing steamer and the thing throws out a heck of a lot of steam so think I will proceed by doing one at a time then gluing them together as I go. (glad that thing didn't make it to Goodwill). I'm going to proceed by doing 8 1/8"x2" kit strips over the form, then laying down a layer of packing tape and laminate the second 8 for the outter stem over top of the inner set. Then using the band saw to cut in half and a friends planer to get to 3/4". Any other suggestions would be helpful. This is my 5th build of a CLC kit, the other canoe was a Nymph about 4 years ago and I can't recall how I did those, although the angle doesn't seem so extreme on the Nymph stems. Thank you.
RE: Mystic River Stem lamination
Once I steamed them I did them all at once, without glue. For the steaming I just put them in a large kettle(one of my other hobbies is brewing beer, so no prob). Since the bend is in the middle, you could probably just lay them in a single layer over the top of a large soup pan.
Once I got them steamed, I clamped them all into the form and let them cool and sit overnight. Once the bend is steamed in, there won't be any more problems with breaking. After they cooled, I separated them to let them fully dry. Then I glued them up in the form. I kinda liked breaking up the steps so you're not trying to do too much at once.

RE: Mystic River Stem lamination
When doing any kind of wood-curving (whether solid wood or laminations) take into account what you might experience as 'spring-back' once either your pre-bent pieces or the final glue-up have set / dried out / cooled down / cured properly.
Unless you're working with veneer - really thin material - any significant built-up shape will have a tendency to want to move back towards the shape it / they had before you began.
It's helpful when setting up the form against which you'll be clamping your lay-up to 'build in' a little bit more curvature than the final shape requires. It's easier and less stressful on the formed part to open it up slightly than it is to try and force it into a tighter curve when it's time to mate it with the rest of your projects pieces.
On a side note: anyone here have experience with how MAS epoxy works with damp wood?
I've used different brands before doing built-up furniture parts but those were dry when worked. If I were steaming / soaking + heat-gunning I'd want the bent pieces to dry out thoroughly before any attempt at epoxying them together.
Only one brand I've used actually stated it would bond well to damp / wet wood but that stuff had such an awful odor to its hardener I haven't used it since.
RE: Mystic River Stem lamination
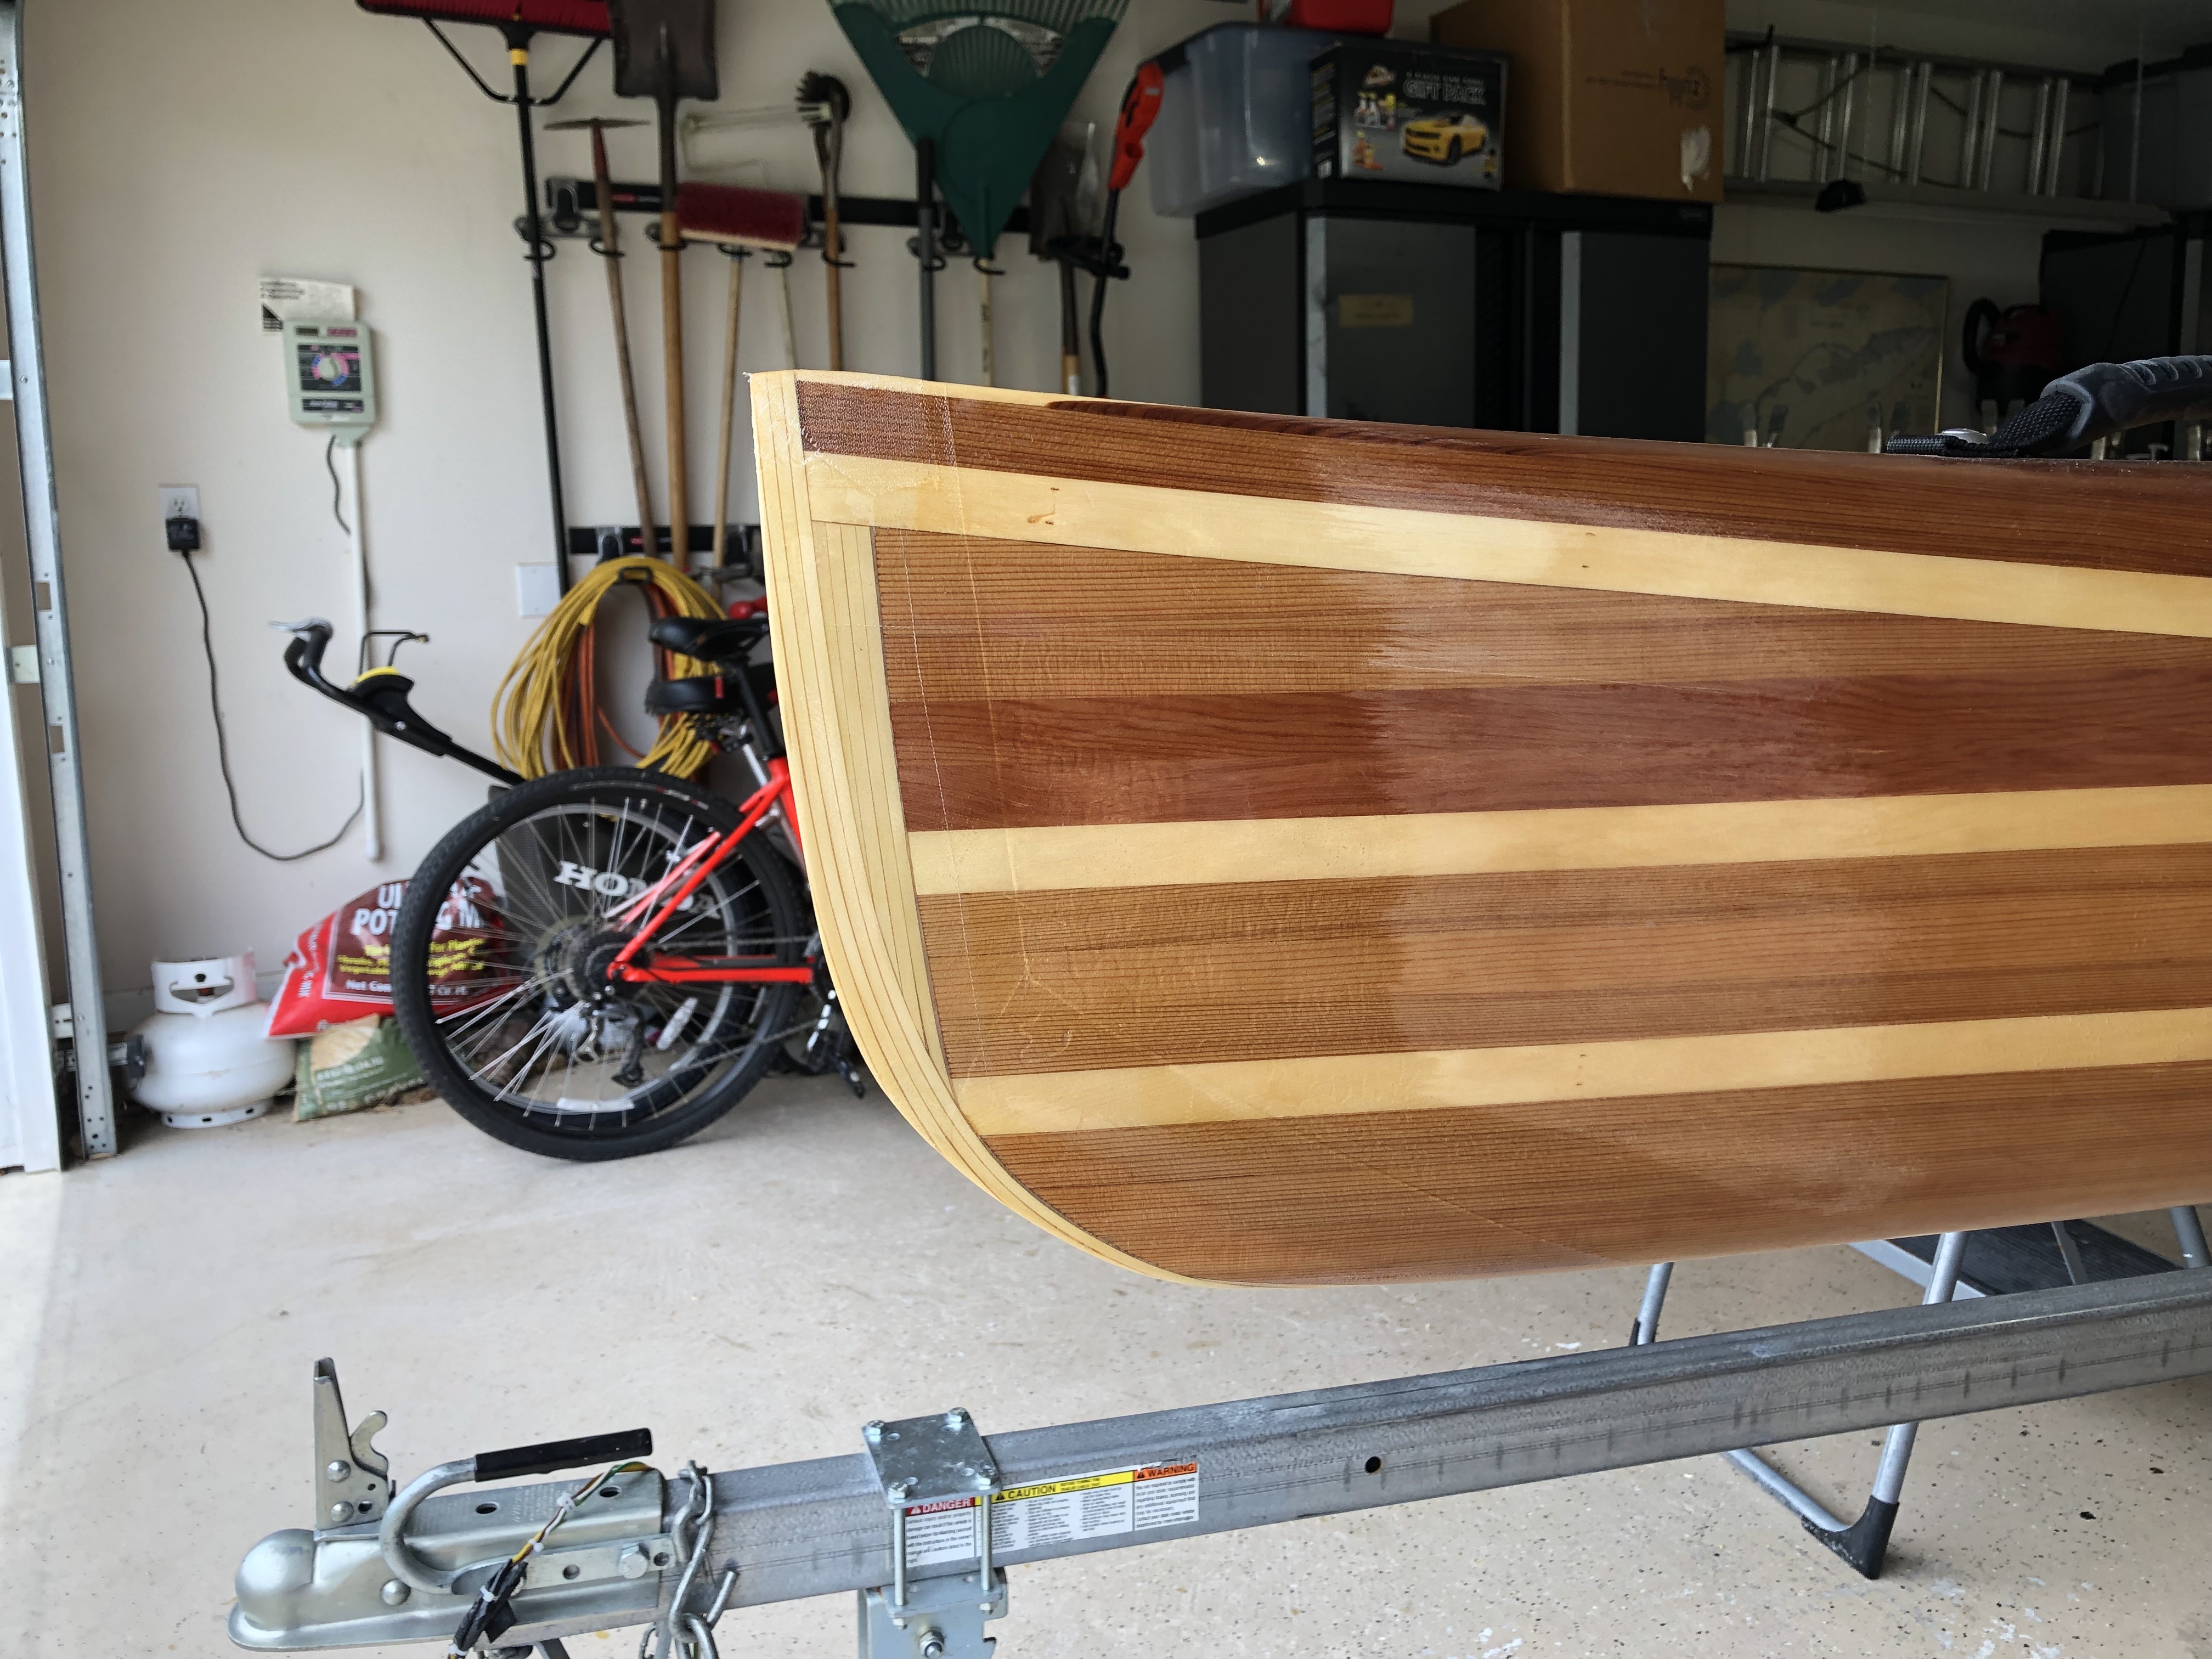
Picture below is from when I had to "re-do" the bow on my Mystery to make it weedless. As I said before, I soaked the srip in a bucket of water for a couple of minutes, taped on end to the boat and then heated with heat gun to bend around the corve. I then let the piece cool/dry for a few minutes. As discussed above, there was a bit of spring back but not too much for the green tape to handle. Next applied thickened epoxy and held strip in place with green tape. After all was cured, I added the next strip with same process. Doing one strp at a time made this a several day project but it ensured a good tight fit on the strips. Once I had the thickness that I needed, I shaped with a hand plane.
Two other tips: 1. The WRC strips are the easiest to bend. Alaskan Yellow in harder and Nogul is harder yet. 2. When you mix the thickenend epoxy, use varying mounts of Silica and wood flower to get a color close to that of the wood strips. This will help hide any gaps.


RE: Mystic River Stem lamination
» Submitted by Bob Santore - Sun, 12/1/19 » 2:13 PM
I had the same problem with a kit build, so it's not just you. I tried bending one layer at a time, several at a time, using a flexible outer layer to provide support, but nothing worked. Then I reverted to steaming, which made it a breeze.