
Builders' Forum |
|
| ↓ Scroll to Last Comment ↓ | Forum Guidelines | Builders' Forum | |
I have some observations regarding the Petrel Play SG hatch recess rings.
* The oval hatch bottom edge has a CNC tab but the curved recess piece doesn't have a notch for it. I plan to cut off the tab. There are two wire holes in both pieces that can be used to guide the assembly.
* There are a few wiring holes in the oval hatch bottom piece that don't have corresponding holes in the curved recess.
* The instructions suggest rounding the outside edge of the lower ring. It doesn't describe very well how the recess ring mates with the lower ring.
* The instructions don't clarify which way the bevel should be when the recess ring is bent into shape. After some experimentation it looks to me like the bevel should be on the outside of the ring when it is bent into shape. The ring bevel would then fit "inside" the deck cutout. My reasoning is that this makes a joint that is similar in construction to those for the hull and deck pieces.
* Along the same lines, I'm pre-bending the recess ring and letting it sit before attempting to attach it to the bottom ring (for both the round and oval rings). My intent is to have the wood take a "set" that would allow further bending without breaking.
* I've seen several comments about using heat to help shape the recess ring without breaking the plywood. I'm wondering if an iron, maybe with some steam, would help the wider pieces bend into shape. Have I missed an FAQ about using heat/steam to help with the bending process?
Thanks!
-T
3 replies:
RE: Petrel Play SG hatch recess
Hi Mark,
Thanks for the tips. I've read about your build before and haven't decided which approach for draining the recesses. What's your experience with bugs blocking the 3/8" tube with their nests?
The small ring recess gave me fits. The plywood or glue bond kept breaking at the joints. I was finally able to get the recess pieces glued together today by covering them with a wet T-shirt and ironing with a steam iron until they became flexible enough to match the ring base's outside dimension. I then used fiber packing tape to induce a curve, let that dry some and then assembled the recess parts. I didn't get the bottom ring in it though, so I'll need to steam it again to remove the potato-chip curve.
Getting the parts oriented correctly often requires studying the alternatives. I assembled the recess rings with the bevel towards the inside of the boat. That seemed to make the most sense because it creates an external joint similar to those of the hull's exterior. In general the manual could be improved by stating which side the bevel should be on (inside or outside, relative to the inside of the finished boat) for any parts that have a bevel. I had the same questions about the cockpit. A couple more sentences in key locations would be very useful.
Form #2 has me perplexed. There's a wire hole in the bottom center but the drawing and how it fits shows it at the forward hatch opening. Not going to wire anything there, so instructions on adding it along with Form 3 seem premature to me. I suspect that it will work out when I wire the side panels to the forms.
I bought the skeg - thanks for the confirmation on it. I've been wondering if a rudder would have been a better choice.
-Terry
RE: Petrel Play SG hatch recess
Without a doubt, the deck of the PP is tough to stitch together. My experience matches yours that the forward hatch recess was the hardest part.
Pages 71 & 72 show Nick's approach to flattening out the recesses. As I said above, I clamped the rigid hatch base to the bottom rings before stitching them in, and left it until after the recess assembly was glued into the boat.
Regarding the bevels, sounds like you have it correct. In S&G, always bevel the side which forms the lesser angle.
Deck form #2 does infact go over the forward hatch. Its position is fixed by the width of the fore deck panel. The side notches on the form should be up against side of the fore deck panel. I did add a note in my build manual to remove form #2 when stitching in the forward hatch recesss assembly. I reinstalled the form prior to glue.

 You made the correct decision for skeg over rudder for this boat. I have four wood race boats with over the stern rudders. They work great in flat water but in waves over about 18" (depending on wave shape) they are useless because they get lifted out of the water. This is why surfskis, shich are designed for big waves, always have under hull rudders. As long as you do not put the skeg too far back, it will remain in the water not matter how bog the wave is. In the picture below, all four boats are equipped with over stern rudders because I was headed for a week of racing in a shallow, rocky river. After trying to race the first two boats in waves, I decided on the 3rd and 4th boats (two outer boats) to the ability to accept under hull rudders.
 This picture shows Mystery with an OTS rudder and Yukon with its under hull rudder.


RE: Petrel Play SG hatch recess
» Submitted by Mark N - Sun, 9/18/22 » 8:36 AM
My memory regarding the Petrel Play build is a bit blurred by time and 9 subsequent builds, but I do remeber that stitching the hatch recesses was challenging. My ususal technique for heat is to use a heat gun but I did not do that on the PP and have not done it on ply. If you do, apply the heat to the surfaces that will be hidden inside the boat in case you get some discoloration.
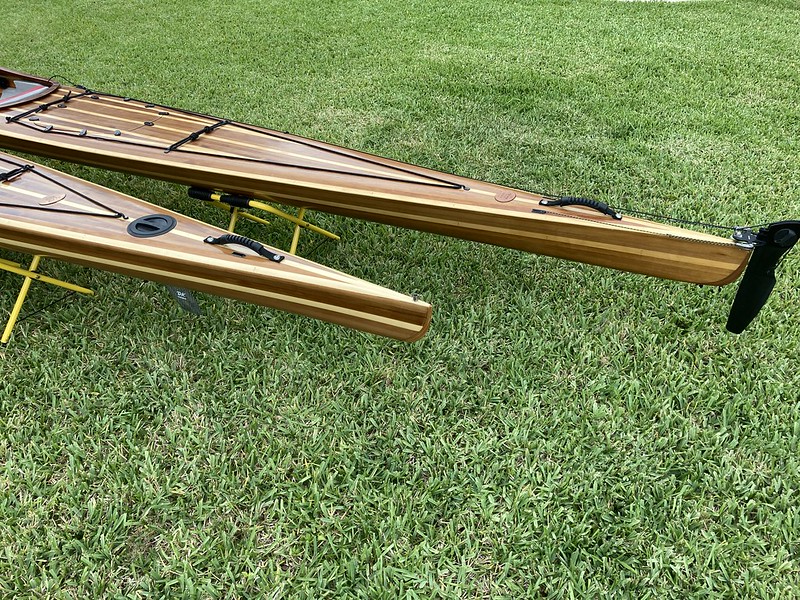
I also remeber that the base (bottom) of the recesses had the tendency to bend when stitched together. The base must be flat in order for the rigid plastic hatch to sit firmly against the wood and seal properly. If you look closely at this picture, you can see a little bit of "rocker" in each of the recess assemblies where they will not sit flat on the floor. I remedied this problem by clamping the palstic hatch base into the recess prior to sticthing then imto the deck. Once glued in place, they held the flat shape well enough.
This picture shows the large filet which contains the drain hole.
I absolutely love this boat.