
Builders' Forum |
|
| ↓ Scroll to Last Comment ↓ | Forum Guidelines | Builders' Forum | |
Annapolis Wherry Build, Alternate Process
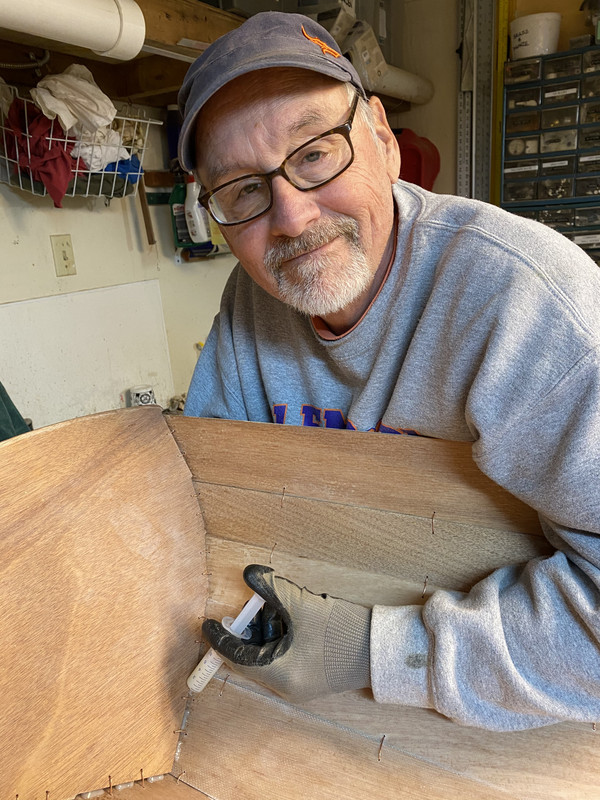
I have begun building an Annapolis Wherry for a friend of mine. She is a rower, a d really wanted this boat. I've built seven boats from scratch. Since I'm retired, and have enough boats (so far), I offered to build it for her. I'm excited to build my first boat from a kit. I hope it doesn't spoil me.
Not too long ago, I became with an interesting build process for stitch-and-glue boats. I first saw it on offcenterharbor.com. I bought Russel Brown's book "Epoxy Basics" off his website http://ptwatercraft.com/ptwatercraft/EPOXY_BASICS.html His techniques offered some advantages tonthe process laid forth in the wherry's build manual, so I decided to use them on this build. I hope you find this interesting. I encourage you to buy his book, and see how he does things. The e-book is only $6.
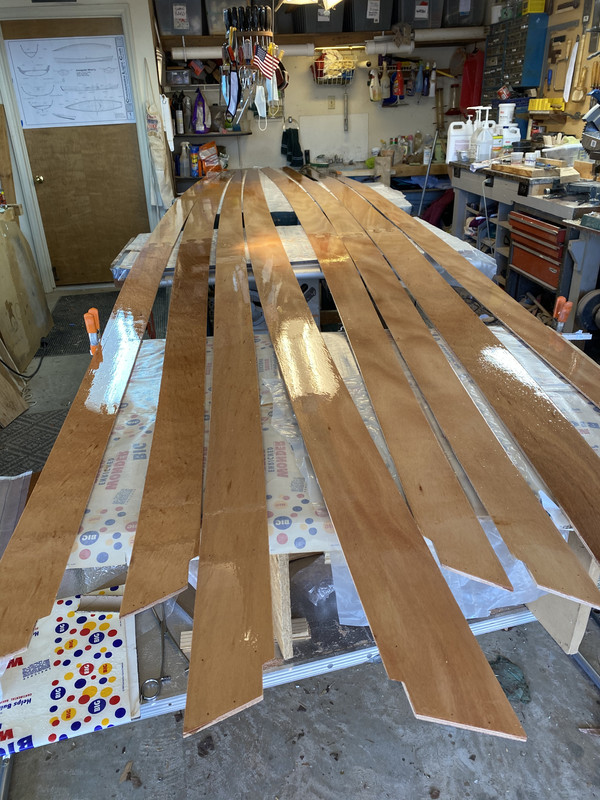
I glued up the puzzle joints, and pre-coated all panels with 2coats of epoxy, except for the exterior #1's. Also, I pre-glassed the interior of the #1&2's. They all get sanded with 220 grit paper. This is so easy to do on the flat with an ROS. Next step is to (finally) stitch the panels together.

17 replies:
RE: Annapolis Wherry Build, Alternate Process
Would be great to see pictures dan. Do you have a target weight you think you will come in at? What strip thickness did you actually pick and what is your glass layup that you expect. I built a petrel strip a number of years back (still my favorite) and only 35 lbs so very easy to carry. I know you have done similar work. Best. H
RE: Annapolis Wherry Build, Alternate Process
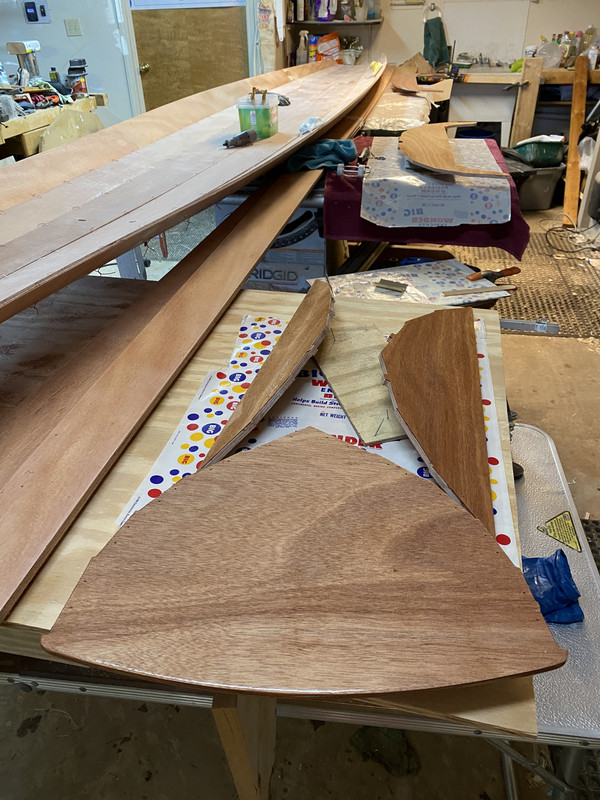
Today, in addition to my workout, cleaning the basement, and the total 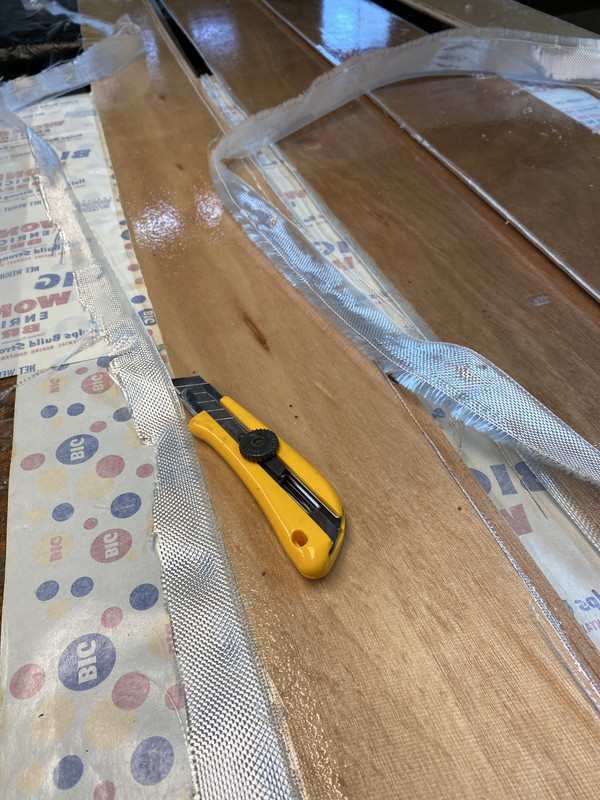 breakdown of our furnace, I did manage to liberate the lower panels from the surrounding fiberglass.
RE: Annapolis Wherry Build, Alternate Process
Unfortunately, I don't have many pictures of this build. You can see me glassing the panels in this clip here...
https://www.youtube.com/watch?v=tf7YkwUpLEw&ab_channel=MoonlightMarine
The strips I used were leftover from the lightweight PetreI I built which came in at 33 pounds. I expect this one to be similar. By the time I was done sanding the panels for this Shearwater they ended up being near 1/8".
Scroll down to see the Petrel here...
https://www.clcboats.com/modules/framework/page.php?section=newsarchives&page_alias=okoumefest-small-craft-festival-2013-part3
I used 4 oz glass on the inside of the Shearwater hull and 6oz on the outside. I'll use 4oz on the deck.
Dan
RE: Annapolis Wherry Build, Alternate Process
Here's a thiught. Why not start your own build thread?
RE: Annapolis Wherry Build, Alternate Process
Yeah, sorry about that. Glassing the inside of the panels on a flat surface has definite advantages. I was concerned that it would make the panels too stiff to wire together but I did some test pieces with scrap plywood first and bent and twisted them and it was not an issue.
Dan
RE: Annapolis Wherry Build, Alternate Process
 Doing a mockup is always a smart thing. I did that before committing to this alternate process.
I am now into the conventional stitching steps of this build. I'll only post occasionally, until I get to the unique parts of the process. But here is my status, as of this morning. Panels 1-3 have been stitched together. I'm pre-coating the bulkheads and transom now. Once they have two coats, and are sanded, they will be wired in.
RE: Annapolis Wherry Build, Alternate Process
I've gotten everything stitched together now. I'm tightenjng the stitches, and preparing to glue up the stem and transom.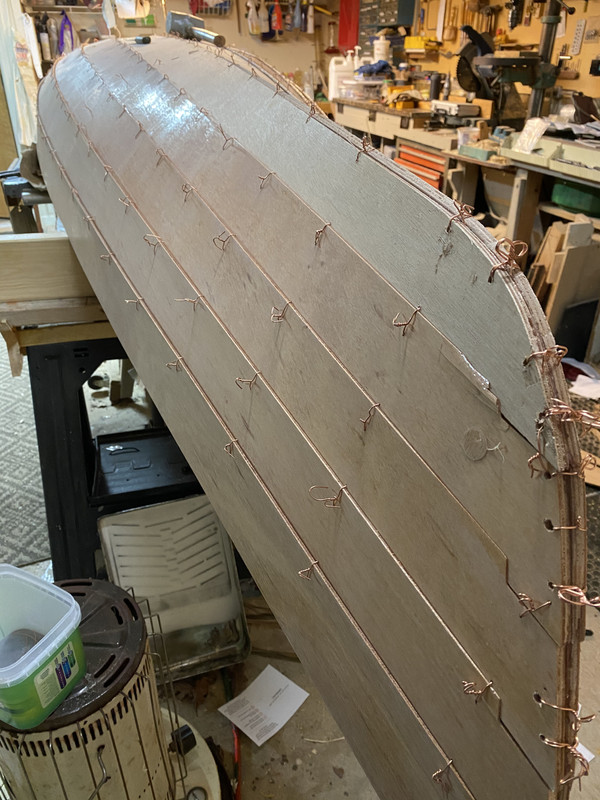
RE: Annapolis Wherry Build, Alternate Process
Today, I am tack gluing the transom. That will allow me to remove the wires, before I fillet the transom in. I don't want any copper showing on the varnished transom.

RE: Annapolis Wherry Build, Alternate Process
 Now, the boat is ready for interior glassing. But since I've already clad the panels in cloth, they only need to be welded together. I will use the method outlined in Russel Brown's book "Epoxy Basics" mentioned above.
I've cut strips of cloth off the roll of glass provided with the kit. Then, I peeled away a few strands to give me a fringe all around. Note: you can't use traditional glass tape for this, because it contains a thicker thread on each selvage. Then, I saturated the strips with epoxy.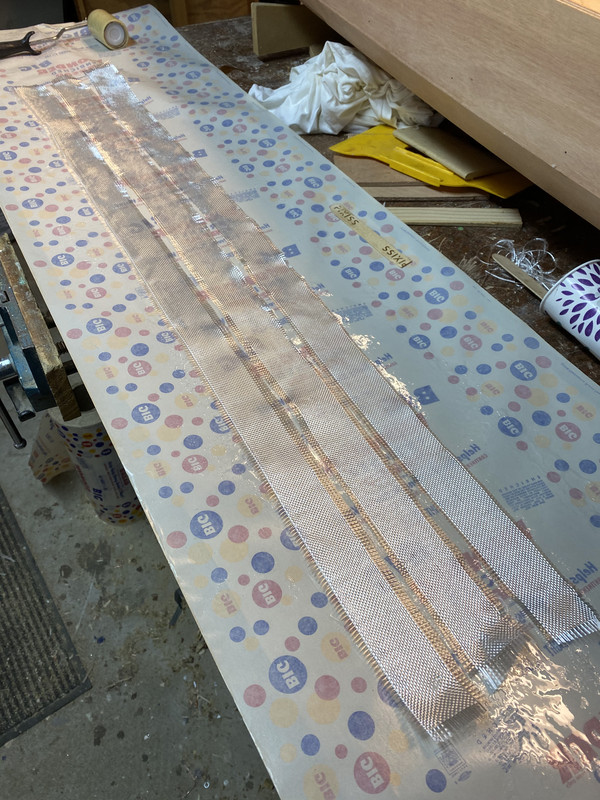 Then, I placed the strips on the seams, and placed strips of Peel Ply over them. I patted it down, sonthe epoxy could soak into the Peel Ply.
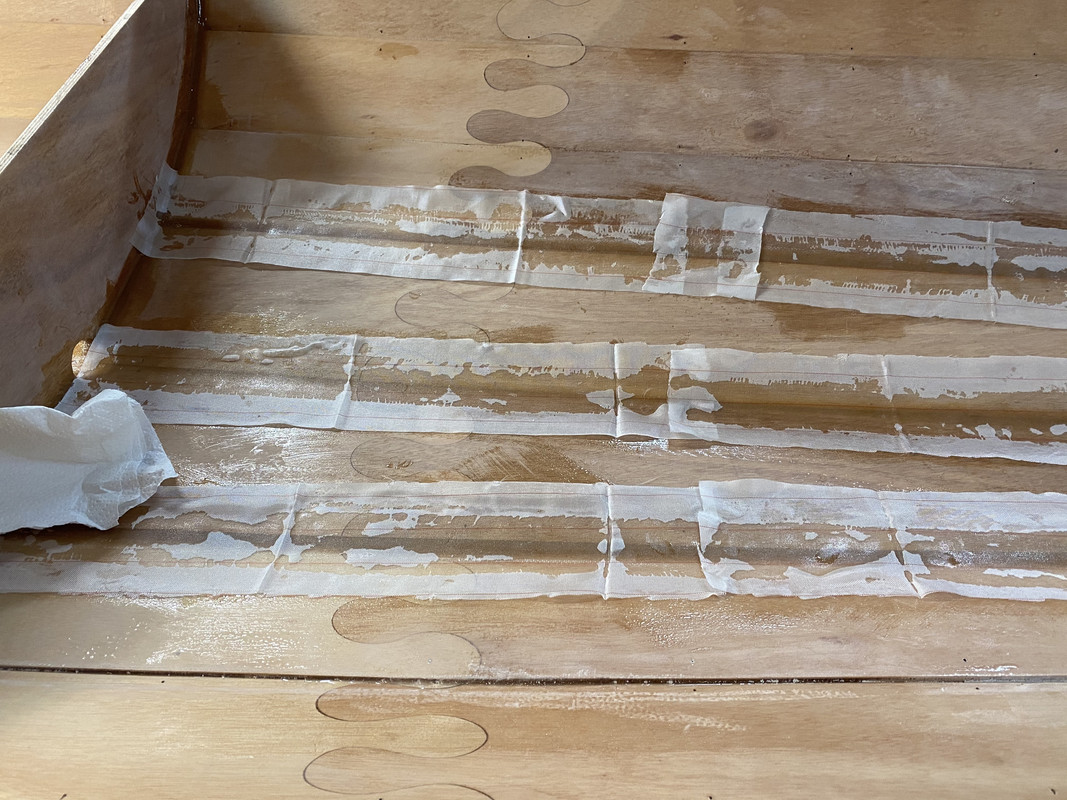
The results were astounding! When I peeled the Peel Ply away, I was left with a sloghtly textured surface, which is easily sanded. I did learn that I needed to iron the fold wrinkles out of my Peel Ply.
For a point of comparison, I did not use Peel Ply aft of bulkhead #4. This area is sealed up, and not visible. 
RE: Annapolis Wherry Build, Alternate Process
Hi Thrillsbe...looks great. I built the annapolis wherry a few years ago and you have certainly targetted an area of personal challenge for me--getting the epoxy on. Actually in my case it was all of the associated sanding that took forever. I can see how your technique is faster, has less risk of sanding through, and is likely prettier result by allowing the ability to use a flat sander on a flat surface (a dream compared to awkwardly using pointed sanders at weird angles.) One concern I would have is strength. I'm not saying it is a problem, but my understanding was that if you put down epoxy and then glue more epoxy to it days later, you have made more of a mechanical bond that can separate from lots of wiggling or bending and less of a chemical bond that is all one unit compared to getting that first layer all in one shot. I'm sure this isn't a problem in the big areas, but I wonder along the seams. This is doubly concerning on the glassed panels since they are now multiple pieces all layered properly, but still separate. I know some of my repairs have eventually 'come apart at the seams,' especially at glassed areas, whereas the base hull structure of my wherry is fundamentally one continous piece of plastic and doesn't budge. I'll be interested in your comments (maybe from the ebook?) about whether I am being too crybabyish about this. No doubt it is all strong enough and I am being too academic.
Did you have a special technique to not get epoxy in the pre-drilled wire holes when pre-epoxying the panels or did you just re-drill them when ready to stitch. As an aside, I was a mess and got epoxy all over the copper wires but had no problem pulling them out anyway with pliers, I guess because they are so smooth and possibly slightly oily. Combining your neatness with my messiness, I suppose one could insert polyethelene plugs into the wire holes before the pre-epoxying, which would sand down no problem and not stick, and then pull them out before stitching.
I like the idea of using Peel Ply, because on my first few layers of epoxy I had such a drippy mess that sanding was a real bear. However, by my third layer I had finally gotten the technique down of rolling the epoxy out and then back brushing it smooth and had very little sanding at that point. I'm not sure if it was only technique or if the higher layers are fundamentally easier to apply. Either way, I'll try the Peel Ply next time just to learn something new.
RE: Annapolis Wherry Build, Alternate Process
I didn't see your name above, but I'll try to answer your questions.
If you're considering this process, FOR SURE, buy Russell Brown's book. The e-book is cheap.
When you first lay down epoxy, it must not be a thick layer of epoxy-- the cloth will float to the top. You must scrape off most of that first layer of epoxy while it is still wet. Subsequent layers must be laid down within 12 hours of each other. The best is in about 6, after the previous layer is just tacky. If you wait "a couple of days", the coats of epoxy do not bond well to each other. Not good.
Yes, I had to drill out some of the holes. It wasn't a big deal.
Finally, neatness counts! I was not as neat as I should have been. A sloppy job is always paid for in sandpaper. If you want to see the master of neatness in action, watch a video by Russell Brown. Here's a teaser: https://youtu.be/yDoauHaOfBQ To see the whole series will cost you a subscription to Offcenter Harbor's website. It's well worth it, but not cheap.
Anything I didn't cover? Oh. I removed wires by heating them with a soldering iron, and pulling them out with pliers
RE: Annapolis Wherry Build, Alternate Process
Hi thrillsbe,
I’m waiting for delivery of the tandem Wherry kit so your post is very timely. I like this method of pre glassing the panels before assembling and plan to do same. I built a CLC PocketShip in 2016 so have some experience with fiberglassing and the tedium of endless sanding but have not used peel ply before. Could you advise on how much peel ply you used?
RE: Annapolis Wherry Build, Alternate Process
I only used this method on the interior. It is not necessary on the exterior, a d Won't work. It was my first time. I bought one package of 60"x 2 yd WEST release fabric, and it was plenty. But plan it out, and do the math. Figure on 4" wide strips (that is generous) 2' long with a 1/2" overlap. Per Russel Brown, Peel Ply doesn't make corners well, so you make short overlapping runs.
Do know that this method has it's own areas of tedium. One being the cutting of the tapes. DO NOT use roll tape with this method. And buy the book and/or watch the videos.
Some use Peel Ply for the entire exterior panels. I've seen this, and it works great. But it does not do compound curves.
RE: Annapolis Wherry Build, Alternate Process

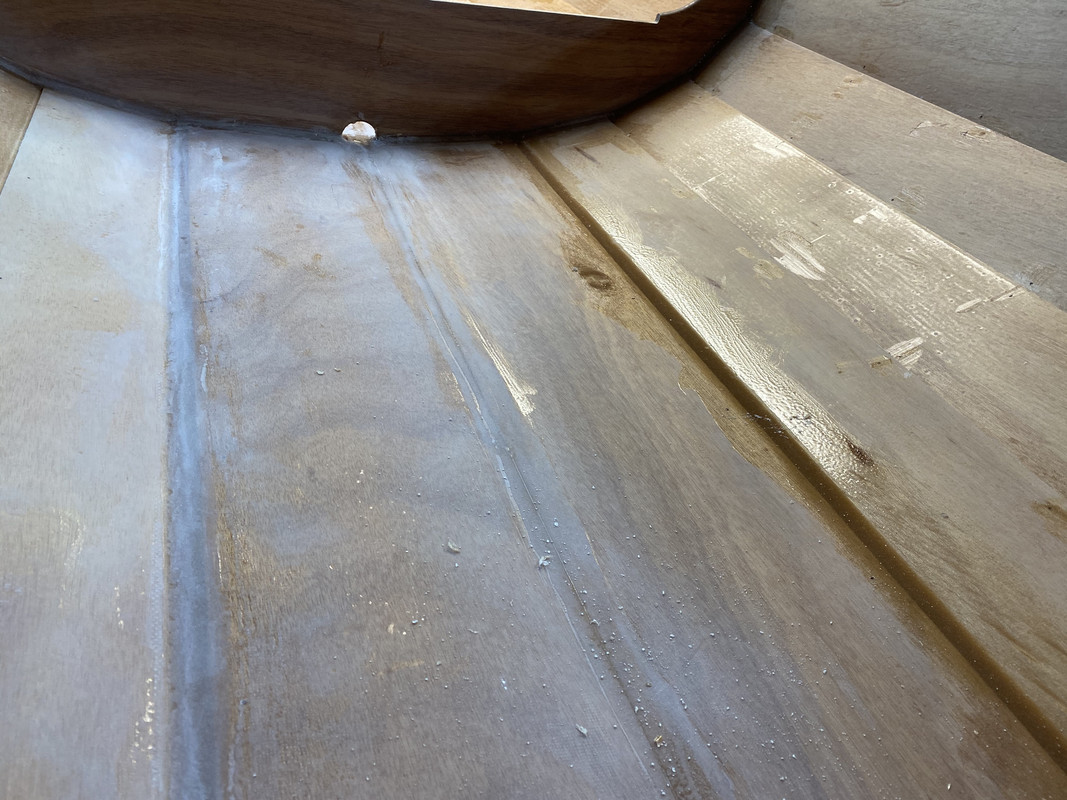
 The Russel Brown technique wasn’t quite as successful as I had hoped for. There were high spots along the edges. They were easier to sand out than a ridge of glass tape would have been. There was still more sanding than I was expecting. Would I do this again? Yes, probably, to see if I couldn’t do a better job.
RE: Annapolis Wherry Build, Alternate Process
Hi Thrillsbe,
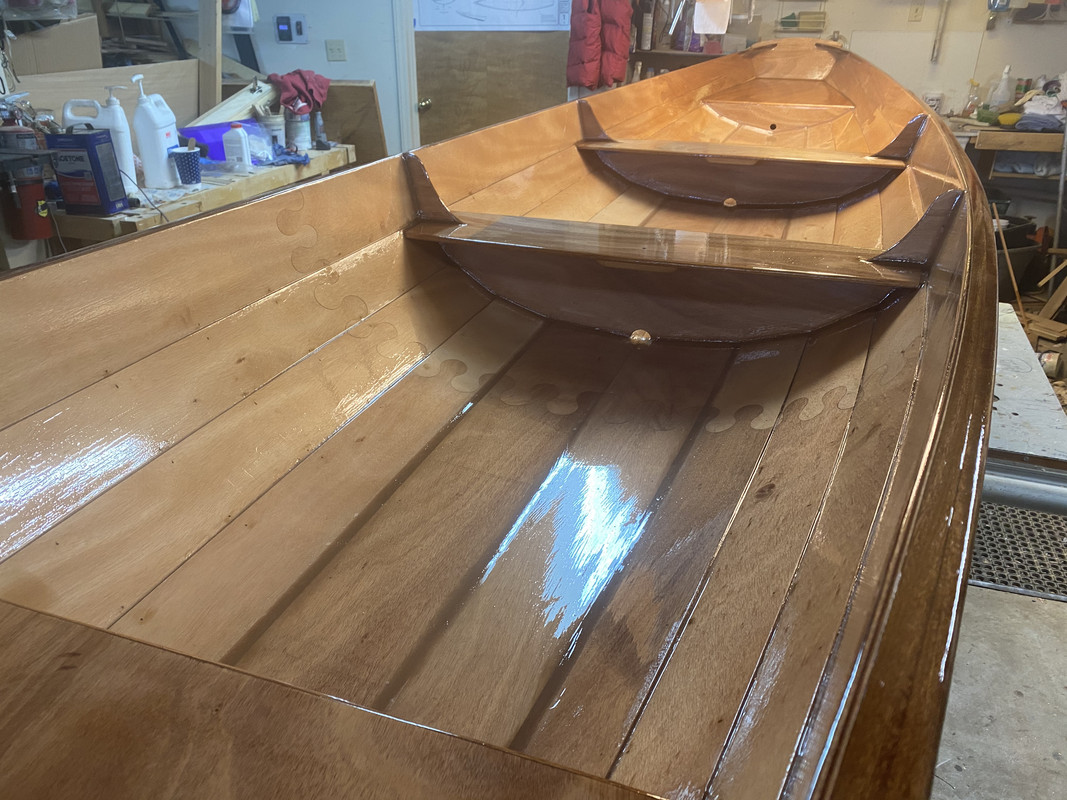
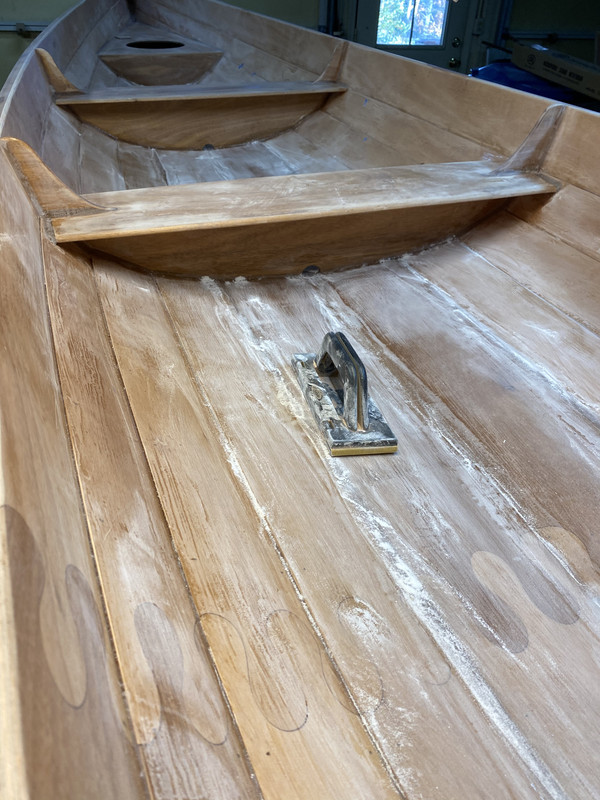
looks fantastic. can you let us know about the order of the pictures. is the first one that looks really clean varnish or a final coat of epoxy? are the sanding ones effort that took place before that first picture....or just more sanding.
thanks for sharing.
h


RE: Annapolis Wherry Build, Alternate Process
» Submitted by Dan Thaler - Fri, 12/4/20 » 9:08 AM
One of my long term projects is a "strip and glue" Shearwater 17 hybrid. Instead of plywood panels for the hull, I glued up a bunch of strips and made panels out of them. I then glassed the inside to strengthen them, trimmed them to size, and wired them up as if it was a stitch and glue. I then glassed the outside of the hull. I recently installed the temporary deck forms and will complete it as per a hybrid build. FYI, the hull strips are VERY thin. This is going to be an extremely light boat.
Dan