
Builders' Forum |
|
| ↓ Scroll to Last Comment ↓ | Forum Guidelines | Builders' Forum | |
Puzzle joint not perfect/ why thickened epoxy
So newbie builder here! MC 13 bilge panel puzzle joint did not come out perfect. One finger is raised about 1/16". Due to epoxy hardening prematurely during the process I believe an inaccurate mix caused by resin pump not fully retracted. My fault not here to blame anyone. Hey you live and learn! This bothers me as I don't want the side of the boat looking like an amateur auto body Bondo job. I'll be painting.
Should I be concerned and what are my options at this point?
So I turned to the web looking for answers and I came across a video of joining joints with CA which seems easier without the mess. (especially for a newbie)
So I guess my question is why is thickened epoxy recommended for this at this point in the build. I get it might be stronger but isn't it just necessary to get the panels to the point of being able to stitch since glassing will add strength later?
Thanks for any help you can provide, PP
19 replies:
RE: Puzzle joint not perfect/ why thickened epoxy
You've got to assess the location to figure out what to do and how important is is to your build.. Is it inside or outside? Painted or to be natural? If proud on one side is it low on the other? How will it affect water flow along the hull? Are you building perfect "furniture" or a functional boat.
If it won't show you can fill in with some thickened epoxy. I often don't use thickened but several coats of clear. Wood flour will give a dark stain, not good for varnished area. Once the epoxy is in then sand down. The epoxy is the fairing not the fill. You will want the outside of the hull to be "flat" or level so you are filling. Inside the hull is appearance. Sanding the proud, high, side can get through a layer of ply and show.
You can redo the joint by using a heat gun. Epoxy gets soft when heated. Be careful. Burned my fingers many times. Whether to soften and correct or remove the joint and redo with fresh epoxy depends upon motivation, age of the epoxy and the serious of the misalignment.
RE: Puzzle joint not perfect/ why thickened epoxy
To address the one issue/idea presented about using CA glue on the puzzle joint. I wouldn't recommend it. This isn't a "tack weld" situation. Even though covered later with glass (on only one side?), you want a good strong bond between the panel ends. The CA glue will wick into the wood and leave a much "drier" and weaker joint, and one that might not hold up well when doing all the bending and twisting of the panel that will happend during the stitching process that shapes the boat. I also suspect that there would be a not completely filled line left that might cause the puzzle joint to show, making it harder to sand and fill as a part of the epoxy coating or glassing-over process. I'm not sure about your specific panel on the MC bilge area, but often only one side of a panel is glassed, the other is only coated with epoxy prior to painting or varnishing. It is very hard to "hide" imperfections that are not able to be sanded perfectly smooth and flat during the process. Even a haiir-line sized imperfection (stray chip brush bristle or glass fiber) will tend to show. So for reasons of both strengh and the ability to sand the panels absolutely flat and fair as a part of the finishing process, I say no to CA on puzzle joints.
RE: Puzzle joint not perfect/ why thickened epoxy
���I've built 2 kits with puzzle joints now, a skerry and a Kaholo. I didn't get the puzzle joints perfect on either one. Rather than try to separate and start over, I accepted I would be painting them and used fairing mix on both, on the visible sides. I made softer than normal fillet mix on the first. On the skerry I have used microballoons and it goes much easier.
RE: Puzzle joint not perfect/ why thickened epoxy
To address the one issue/idea presented about using CA glue on the puzzle joint. I wouldn't recommend it. This isn't a "tack weld" situation. Even though covered later with glass (on only one side?), you want a good strong bond between the panel ends. The CA glue will wick into the wood and leave a much "drier" and weaker joint, and one that might not hold up well when doing all the bending and twisting of the panel that will happend during the stitching process that shapes the boat. I also suspect that there would be a not completely filled line left that might cause the puzzle joint to show, making it harder to sand and fill as a part of the epoxy coating or glassing-over process. I'm not sure about your specific panel on the MC bilge area, but often only one side of a panel is glassed, the other is only coated with epoxy prior to painting or varnishing. It is very hard to "hide" imperfections that are not able to be sanded perfectly smooth and flat during the process. Even a haiir-line sized imperfection (stray chip brush bristle or glass fiber) will tend to show. So for reasons of both strengh and the ability to sand the panels absolutely flat and fair as a part of the finishing process, I say no to CA on puzzle joints.
RE: Puzzle joint not perfect/ why thickened epoxy
The Mill Creek is a pretty old design and most/all designs of that era used thickened epoxy to glue puzzle joints together. The use of CA glue is a newer technique and is used in the build manual for the Petrel/Petrel Play. The advantage of using CA glue on puzzle joints is that you can get the joint perfectly flush. Basically, you use your fingers to hold a small 2-3 inch segment flush, add a drop of CA every 1/2" or so, then hit it with a spritz of accelerant which instantly sets the glue. Then move to the next 2-3" stretch and repeat. The CA is strong enough to hold the jint together white you stitch and glue, and when you glass over the joint the seam gets enough epoxy to be permanently strong. I would not use this for puzzle joints that will not be glassed over.
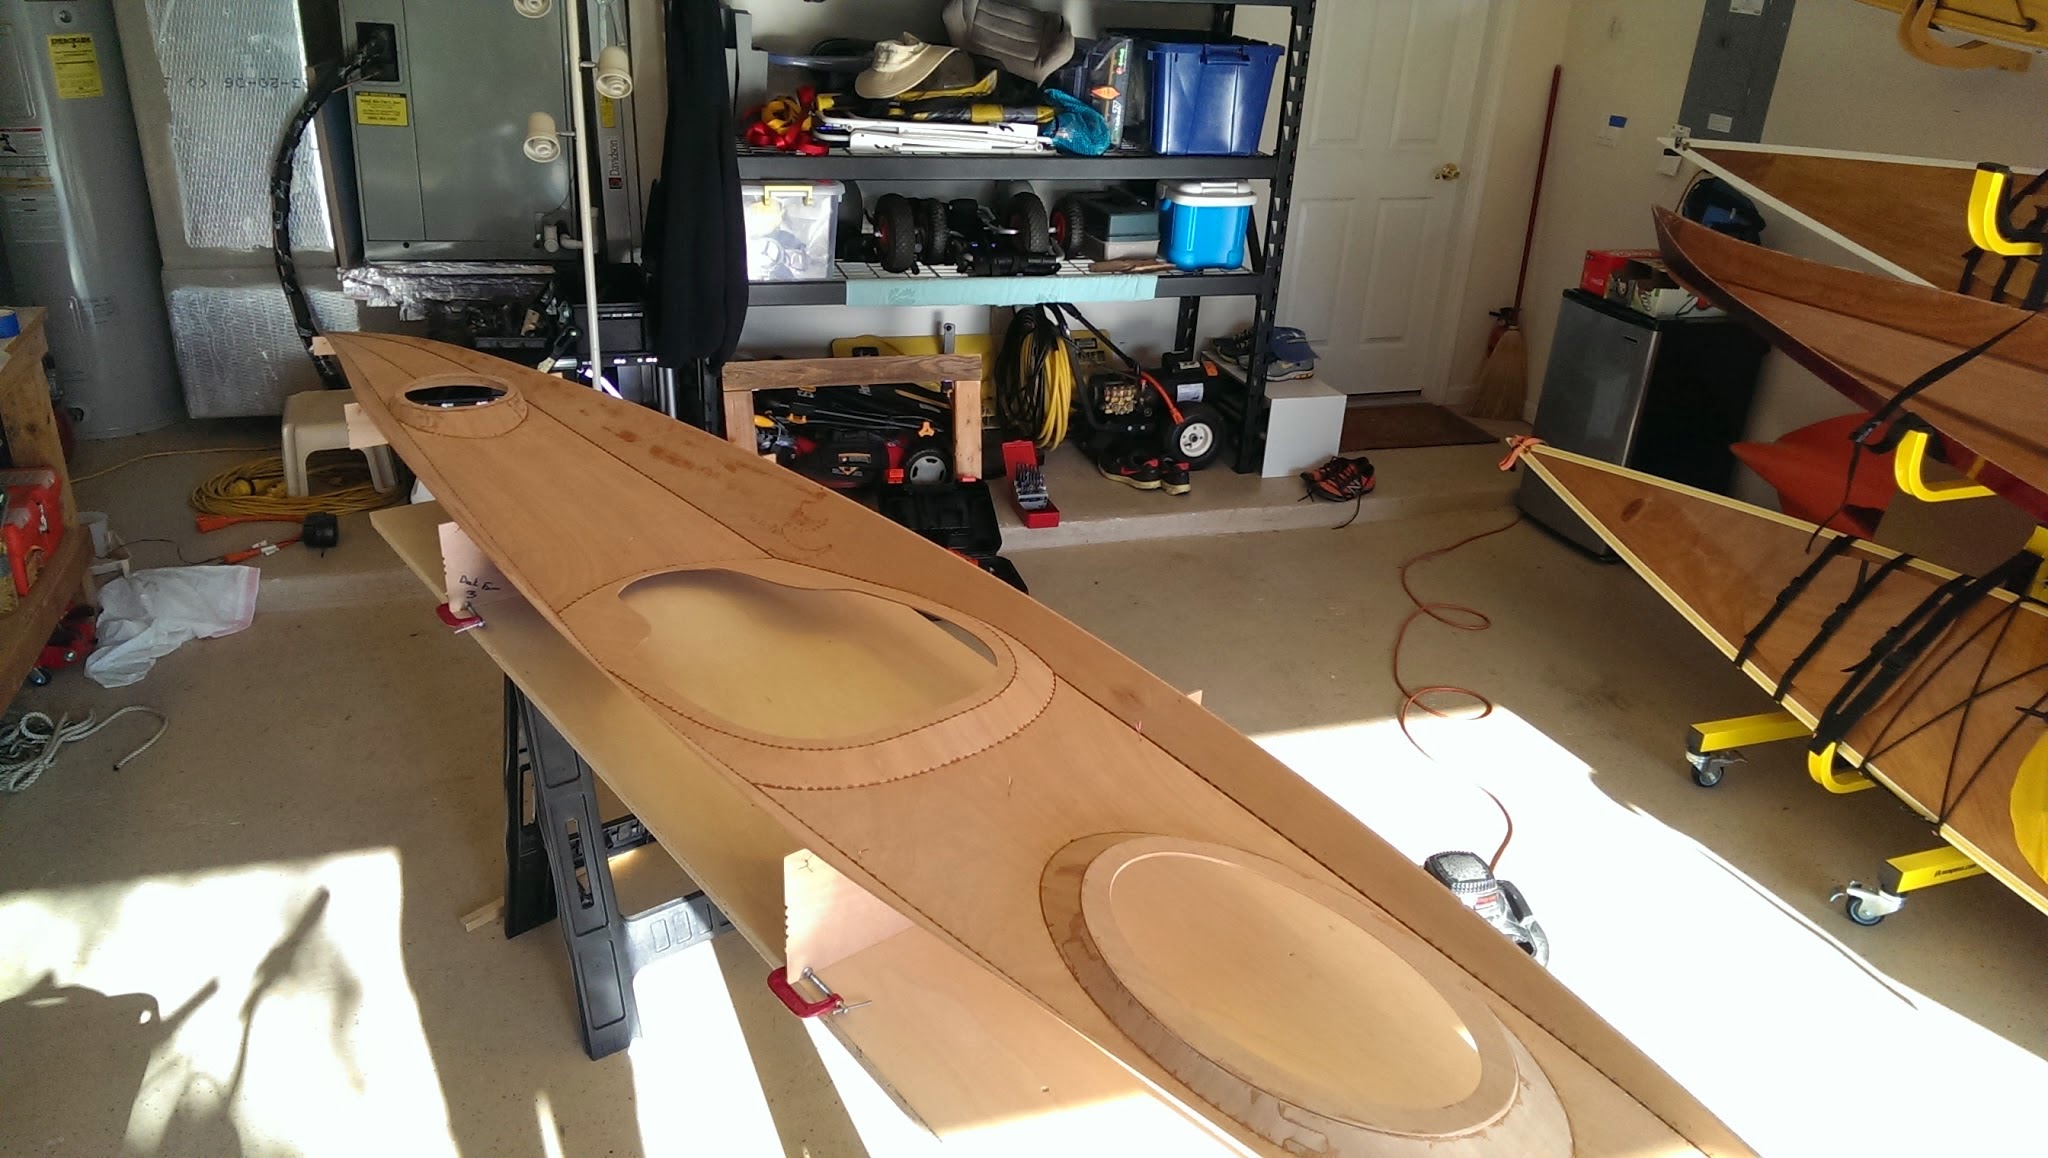
As a side note, on the Petrel/Petrel Play, you actually use CA on all the seams after the boat has been stitched and then remove all the wires prior to gluing. This allows for smaller/lighter filets with the wires removed. The picture below is the underside of the deck of my S&G PP prior to filets. All the wires have been removed and it is held together only by CA glue.
RE: Puzzle joint not perfect/ why thickened epoxy
Here's a pic of the joint
[URL=http://img243.imagevenue.com/img.php?image=80758_1C62FAE0_77A7_4BB4_A059_6BAF60F0379D_122_528lo.jpeg][IMG]http://img243.imagevenue.com/loc528/th_80758_1C62FAE0_77A7_4BB4_A059_6BAF60F0379D_122_528lo.jpeg[/IMG][/URL]
RE: Puzzle joint not perfect/ why thickened epoxy
http://img243.imagevenue.com/img.php?image=80758_1C62FAE0_77A7_4BB4_A059_6BAF60F0379D_122_528lo.jpeg
if at first you don't succeed try try again
RE: Puzzle joint not perfect/ why thickened epoxy
That's not at all bad for a joint left to cure without having been clamped at all!
Scraping / sanding down the high spots to match the low will thin some of the top layer of veneer at minimum.
I'd either use a heat gun to soften epoxy then sparate the pieces, clean 'em up and "...try, try again" like you did with posting pic here, or settle for filling the low spots then sanding them down so everything's flat 'enough' for painting.
RE: Puzzle joint not perfect/ why thickened epoxy
fwiw, i have used a heatgun to soften and disasemble improproperly alighned puzzle joints. it was not particularly difficult and i was very happy with the result and it allowed me to do a brite finish.
the tools i used were a heat gun and a 1 inch chisel (that when you make it a little hot) just cut through the soft epoxy like butter.
its great to have the ability to 'undo' something in your skill kit. regardless of how good you get, misakes get maide. and the best builders are great about undoing their mistakes.
good luck!
RE: Puzzle joint not perfect/ why thickened epoxy
Having found this thread, I just went out and undid the fore deck puzzle joint on my Oxford II. The heat gun and a paint scraper made quick work of it. I need to come up with a better clamping solution than a 'pile of weights' and resist all future temptation to use the epoxy in the cup that "Surely has a few more miutes of working time left". Thanks for the tips and solutions. One more viking funeral averted.
Cheers!
RE: Puzzle joint not perfect/ why thickened epoxy
Remembering epoxy doesn't need extreme clamping pressure is the key.
When I started my Waterlust kit's assembly I used wood shims (hardware store variety) to bring pressure to bear againts puzzle joints I was making up.
Picture if you will a freshly epoxied puzzle joint laid flat atop a piece of polyethylene sheet placed on a workbench. Place a second piece of polyethylene sheet on the joint, then a piece of hardwood planed to a uniform thickness (3/4" is commonly available) wide enough to cover both sides of the joint and long enough to extend a couple of inches beyond the panel being glued up.
When making a dry run of this set-up you've anticipated the need for a couple of holes, one at each end of this hardwood 'caul' piece. Likewise there's another piece of wood needed but thicker than the caul. This can be a common 2x4, similar in width and length as the caul but lots thicker!
This second piece of wood has a hole in each end, spaced the same as those in that hardwood caul, but smaller in diameter! You're going to use those holes to screw the wood pieces to the workbench with the panel being glued under the caul, then the 2x4 on top.
In the space between these two you'll drive several shims (wedges) bringing pressure to bear against the caul and thus against the puzzle joint ends!
I gave up posting images to this forum months ago, but somewhwere in one of the Waterlust threads I did somehow manage to post a couple of images of what I've described. If you'd rather not bother trying to find them, or if they've somehow been 'disappeared' (it does happen!) here's a link to one hosted on a fourm over in the UK:
https://forum.fyneboatkits.co.uk/img/members/25548/Clamping_P_joints.jpeg
Hope this helps!!
RE: Puzzle joint not perfect/ why thickened epoxy
Thanks for all of the advice in this thread. I'm just starting a Skerry and have glued the puzzle joints. Most of my joints are proud on one side by about 1/64th inch. This even though I spanned the joints with 3/4-inch MDF and tapped them together with a dead blow hammer. For the floor puzzle joint I actually pounded the MDF with a 5-lb sledge and couldn't get them together any better. I then weighted the joints with 50-70 lbs during curing. I hesitate to heat the joints and try again, because I can't imagine having any better luck getting them to align. How thick is the laminate on this marine plywood? Can it tolerate sanding down 1/64th inch to smooth everything out? Any advice appreciated.
RE: Puzzle joint not perfect/ why thickened epoxy
If the joint will be glassed on both sides, sanding off 1/64th inch won't hurt anything structurally. The only issue will be with the finish. The previous posters have thoroughly covered that subject so I will say no more.
Good luck,
Laszlo
RE: Puzzle joint not perfect/ why thickened epoxy
Thank you for your quick response, Laszlo! I'm actually mostly wondering about the finish. Can I sand down 1/64th and still be within the top layer veneer and so not ruin the look? Or is that hopeless and I'm going to get a veneer sand-through to the core of the ply? For hardware store veneer plywood, I know that the veneer is so thin that I'd sand right through for sure. But I'm hoping that the veneer on this marine ply is a little thicker.
RE: Puzzle joint not perfect/ why thickened epoxy
Michael - I am not sure whether the vaneer on marine ply is thicker or not, but my experience is that you will sand through if you try to smooth a less than perfect puzzle joint. If you are planning on varnish and don't want that minor cosmetic blemish, you can add some UNTHICKENED epoxy over the joint to smooth it out.
RE: Puzzle joint not perfect/ why thickened epoxy
Forget hope. Just take a close look at the edges of your plywood kit parts.
Forget sanding. Use a cabinet scraper if you think you need to.
Besides that, 1088 marine ply's supposed to be manufactured to a pretty rigid set of specs, one of which is that the face veneers be no less than 1.3 mm in thickness. That translates to about 3-1/4 times as thick as your estimate of 1/64" lack of perfect flatness in your puzzle joints. Scroll down to the part about Multi-Ply Constuction here for more on this.
Sandpaper's pretty non-selective when it comes to this kind of task. Using a cabinet scraper (NOT something sold for scraping paint!) gives you vastly more control in that you determine the degree of sharpness with the burr you form on the cutting edge, then you determine just how much force to impart on the scraper as you work on the area you find less-than satisfactory.
With practice there's little chance you'll work out past the areas you want to bring into fair with their surroundings. In a pinch a single-edge razor blade can be pressed into the same service, but without the burr it's not going to be faster than using a cabinet scraper.
Mark_N's suggestion for unthickened epoxy's a good one too but forget sanding to make it uniform, use a scraper instead. Your results will be better by far....
RE: Puzzle joint not perfect/ why thickened epoxy
1.3 mm = 0.0511" while 1/64" = 0.0156".
0.0511 / 0.0156 = 3.27 and that's not fuzzy math either unless you're sanding....
RE: Puzzle joint not perfect/ why thickened epoxy
Thank you all for your advice! I recently acquired a cabinet scraper and tried it out on a small cabinet that I built, so I'll apply it here. Glad that I'm not trying to learn the scraper for the first time on my boat....


RE: Puzzle joint not perfect/ why thickened epoxy
» Submitted by spclark - Fri, 3/6/20 » 8:32 AM
Unlikely what you suggest was 'premature hardening' caused by innacurate mix. Epoxy doesn't work like polyester resin, where you can speed cure by increasing hardener. More often the mix just won't cure properly... ever.
Anyway, puzzle joints are aptly named in that not only is the shape of the pieces like those of jigsaw puzzles but also how their assembly challenges your mechanical chops to get the surfaces aligned once the joint is assembled, then keep them aligned until the epoxy has cured.
On my Waterlust project - my first CLC kit, indeed any stitch'n'glue project - I fashioned simple clamping arrangements using dimensional lumber scraps and wood shims to bring pressure to bear evenly across the joint(s) being assembled. There's a link to images in my starting post for that thread showing what such an assembly looks like in use.
You need to separate the work pieces from the clamping materials with something to prevent epoxy from bonding everythuing into a solid mass. Polyethylene plastic sheet is most commonly employed for this purpose, but other materials you might have handy can be used also, like mylar sheet or even waxed paper in a pinch. (I want to try what's called parchment paper myself, just to see what happens. No desire to risk a project with it though, may contaminate epoxy with something that wouldn't bother tasty cookies baked on it.)
Epoxy is a fairly forgiving adhesive. You want to try your hand at that problematic joint again, careful application of sufficient heat (heat gun most often employed) will soften the epoxy to a point where the joint can be disassembled. Then clean it up (filing, scraping, sanding) and try again.