
 return to section:
 Peeler Skiff for CLC days 17-21
A lot of time has passed and she is nearing completion.
This first thing I had to do was finish filleting the center butt block so that my bottom fiberglass could be done. These long coves create tremendous difficulty when trying to wet out the fiberglass cloth. It seems any which way you pull the squeegee, you end up pulling up an air pocket in thee concave places. (This annoying tendency is caleed bridging.) For this reason, it is best to make a really big fillet along the butt block. Even then, expect trouble! No matter how much smoothing and poking you do, there will inevitably be some air pockets after you are done. This is why I cuss so much! In this case, there are two overlapping layers of glass which need to be wetted over these problematic areas. Using all of my experience, I still failed to get a perfectly bubble free lamination. So I cussed louder, and then I moved on.
Glassing the bottom requires two overlapping layers of fiberglass.
Big fillets along the butt block are essential! Be sure to fill any cracks, and all of the screw holes.
Half of the glass laid neatly onto the wet fillets.
Both overlapping layers wetted. Air bubbles along the butt block are unavoidable when laminating two layers of glass. They should be cut out and filled once the epoxy has cured.
In my last post, I talked about filling the “outer stem” with epoxy thickened with colloidal sillica. Knowing how difficult it is to sand this when it is cured, I did this in small increments over three days. If I had it to do over, I may have just cut a piece of hardwood and attached it as a proper outer stem instead. This could have been done in one day, and it would have been nearly as strong as the colloidal silica filled version. Nonetheless, it turned out pretty nice, after three days of filling in neat small amounts, and finishing it by rough shaping with the angle grinder, then finishing it with files and the sander. (I never use planes for working epoxy thickened with sillica. It would make very short work of blunting the edge of any woodworking tool.)
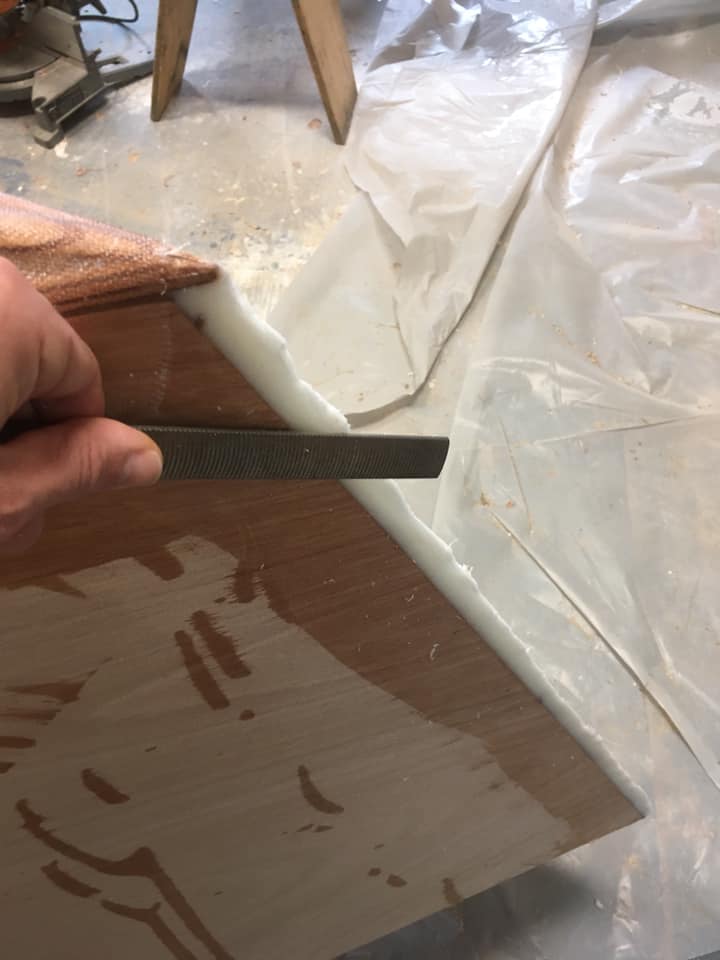
Epoxy thickened with colloidal silica is nearly impossible to sand. Files work pretty well, however.
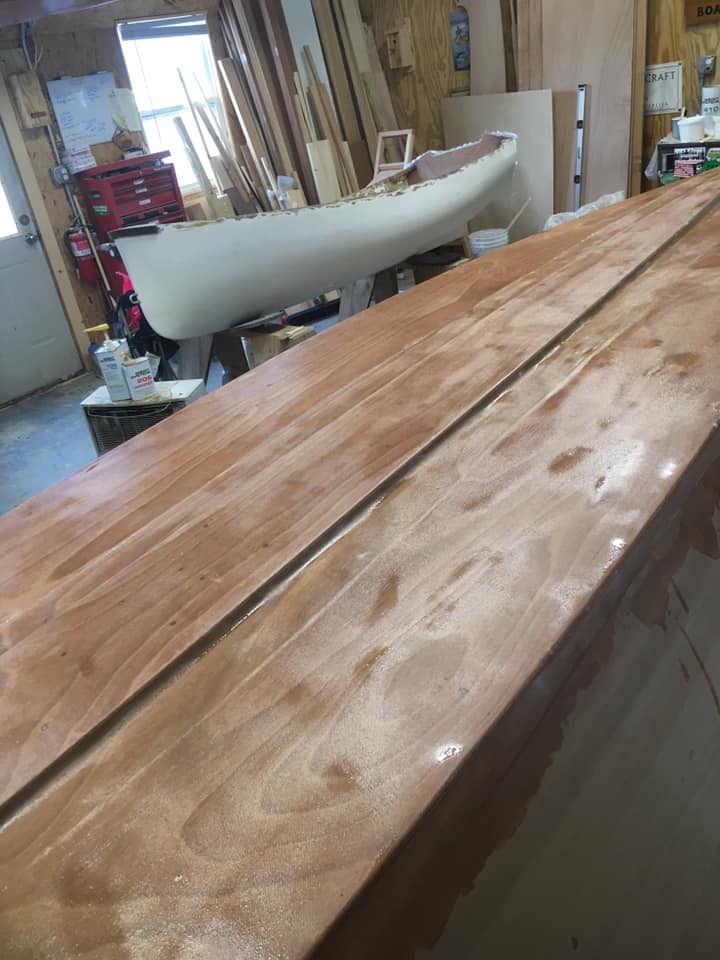
I glued the scarf joints on the skids at the end of day 17 so that I could attach them the following day. They are quite a bit longer than they need to be. The manual describes installing these using a straightedge measured off of the centerline. When I began marking this out, I noticed little stitch holes, that were never used during building, that ran in a perfect line fore and aft at exact the points where the skids should go. This was not mentioned in the manual. An oversight I suppose. Regardless, all I needed to do was connect the dots and I had the exact placement for the skids!

Gluing scarf joints. I don’t bother cleaning the epoxy squeeze out off of the wood.
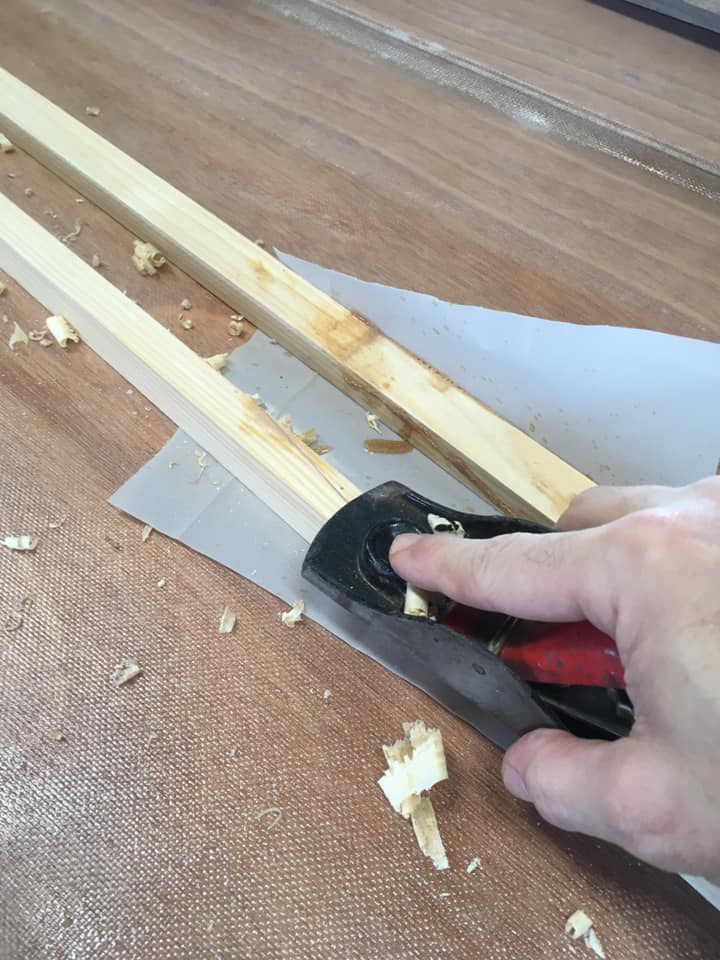
Epoxy comes off very cleanly with the block plane. Take care, however! Epoxy can be very SHARP when it dries. I have had many an annoying boo boo as a result.
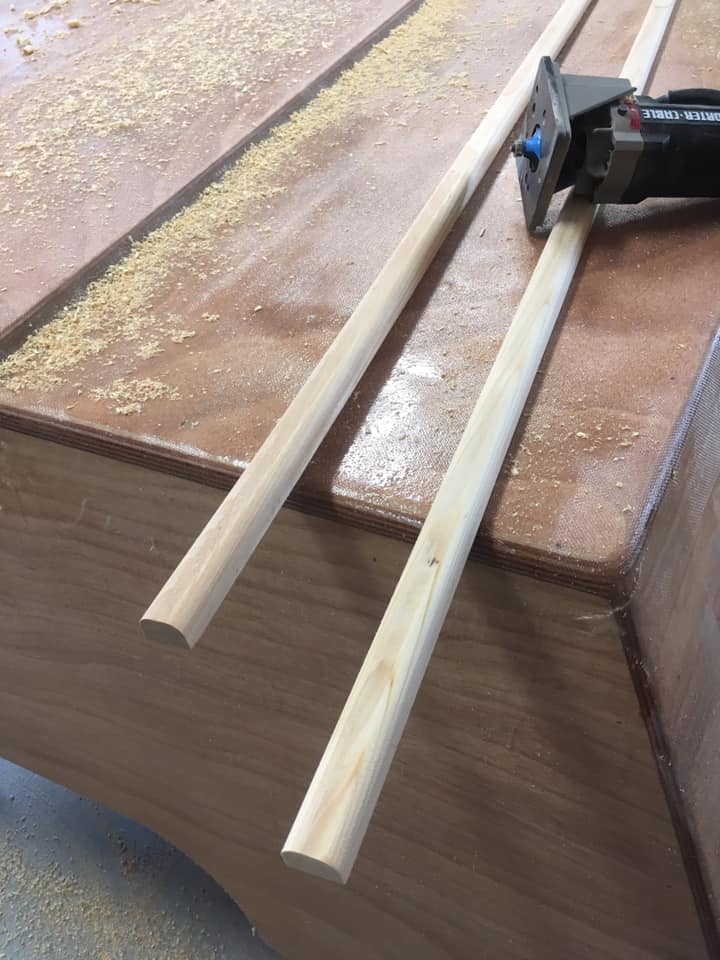
Nice roundovers.

Back to the stem work. This time I am using the angle grinder. This requires a careful steady hand to avoid gouging the wood.
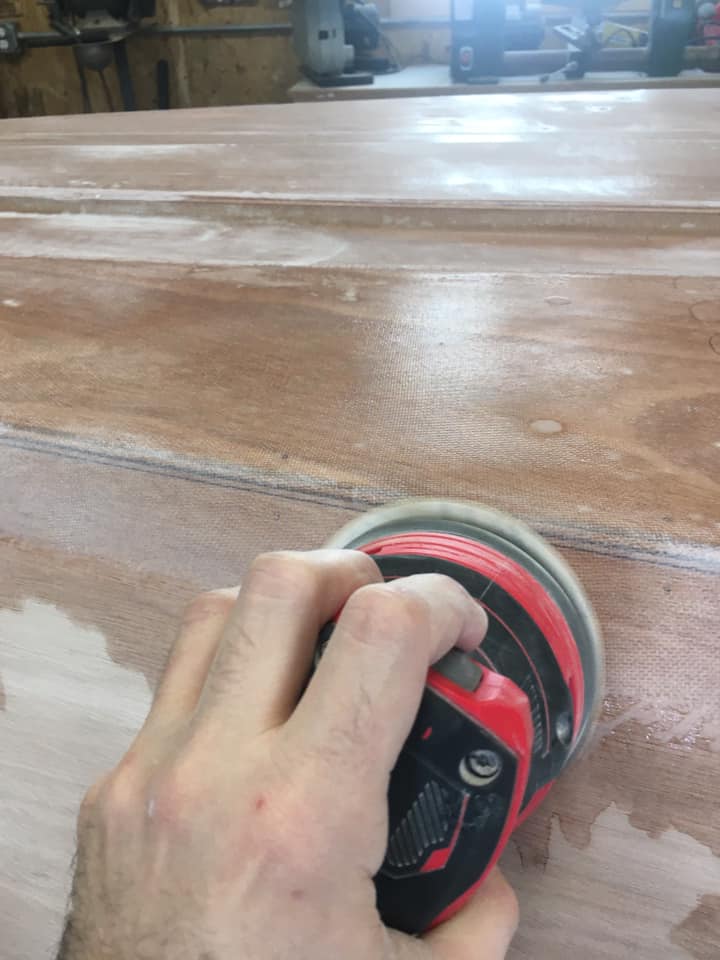
I am sanding the fiberglass edge to make it easy to get the side glass to lay flat.
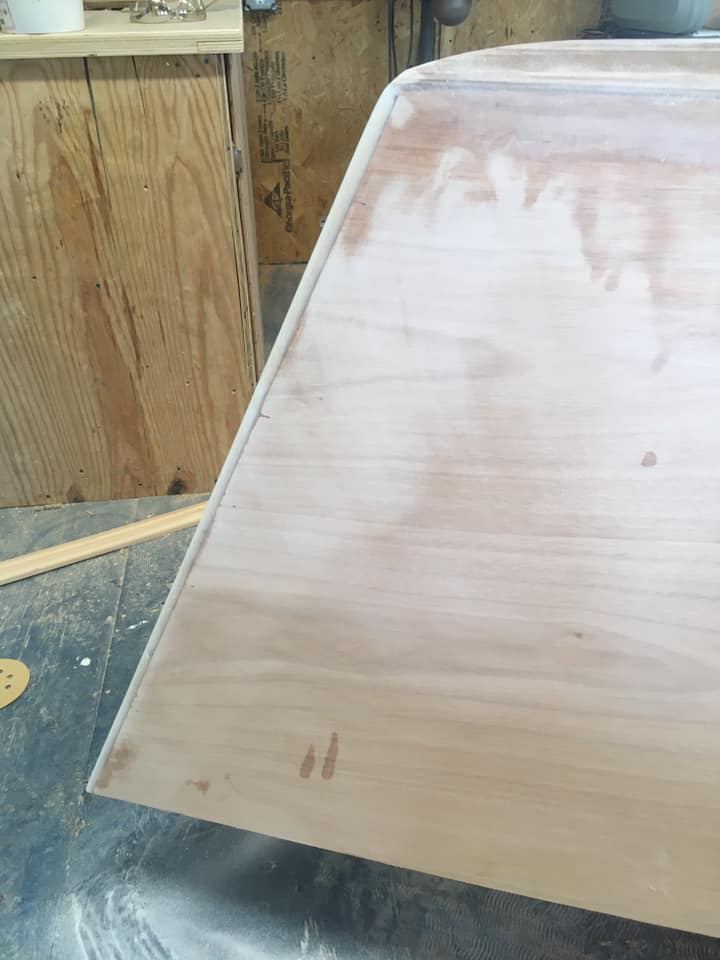
The stem is sanded neatly as well, and rounded over to accept fiberglass layers.

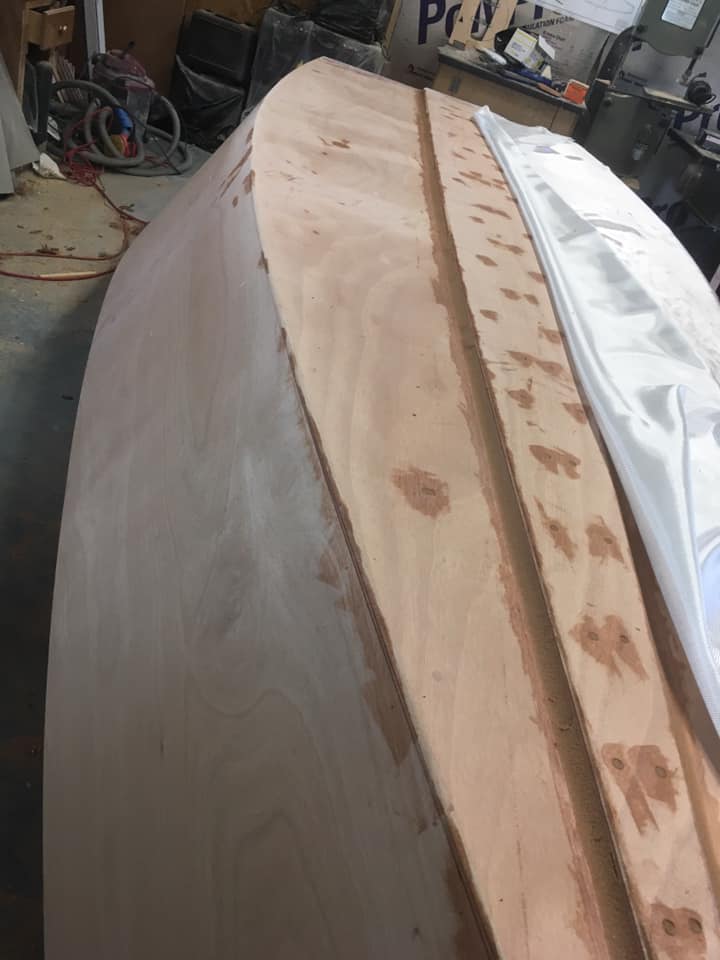
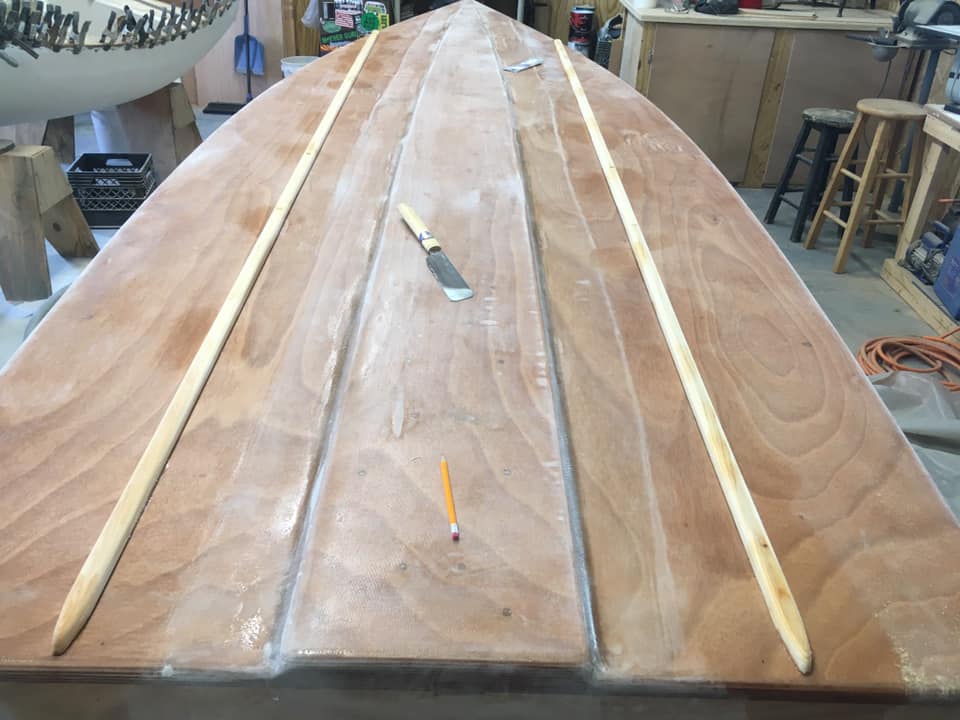
I spotted three sets of these little holes in the bottom. They mark where the bottom skids go! The manual fails to mention this. Future updates will surely follow.
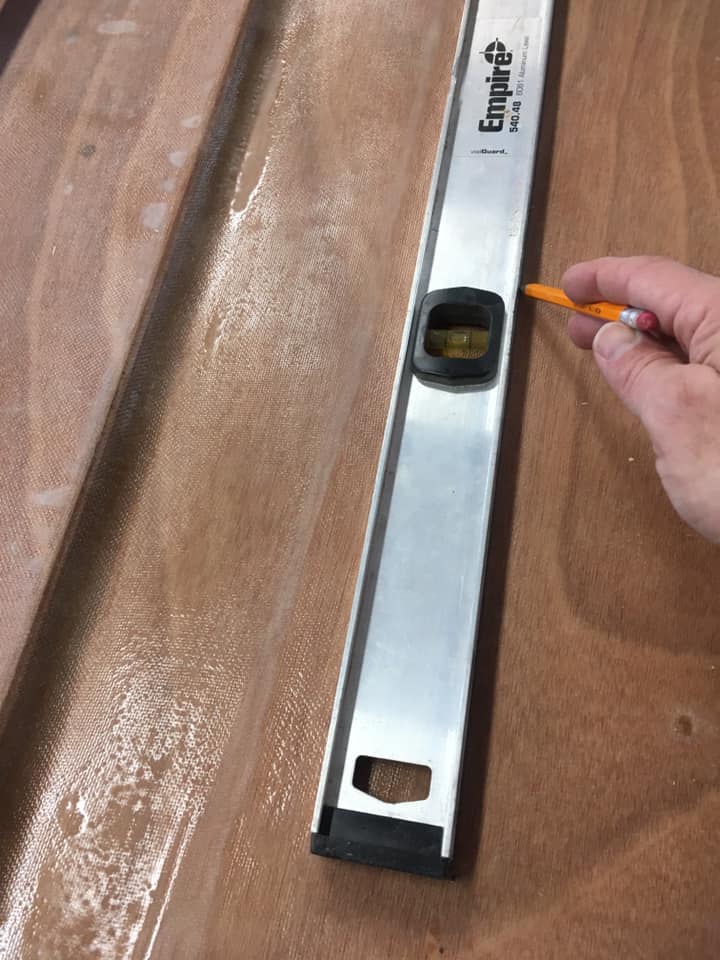
Connect these dots with a straight edge.
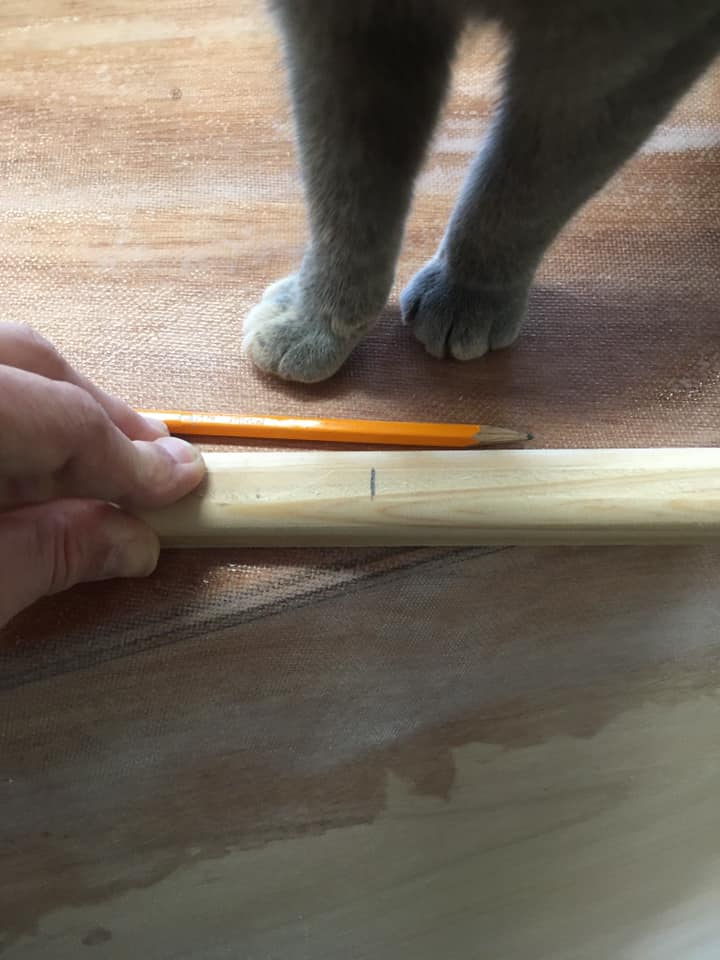
Marking the bottom skids for cutting to length.

My apprentice is eager to help! This little Japanese beading saw is fantastic. They are available from Chesapeake Light Craft. They cut fast! Watch out for your cat’s toes when sawing!
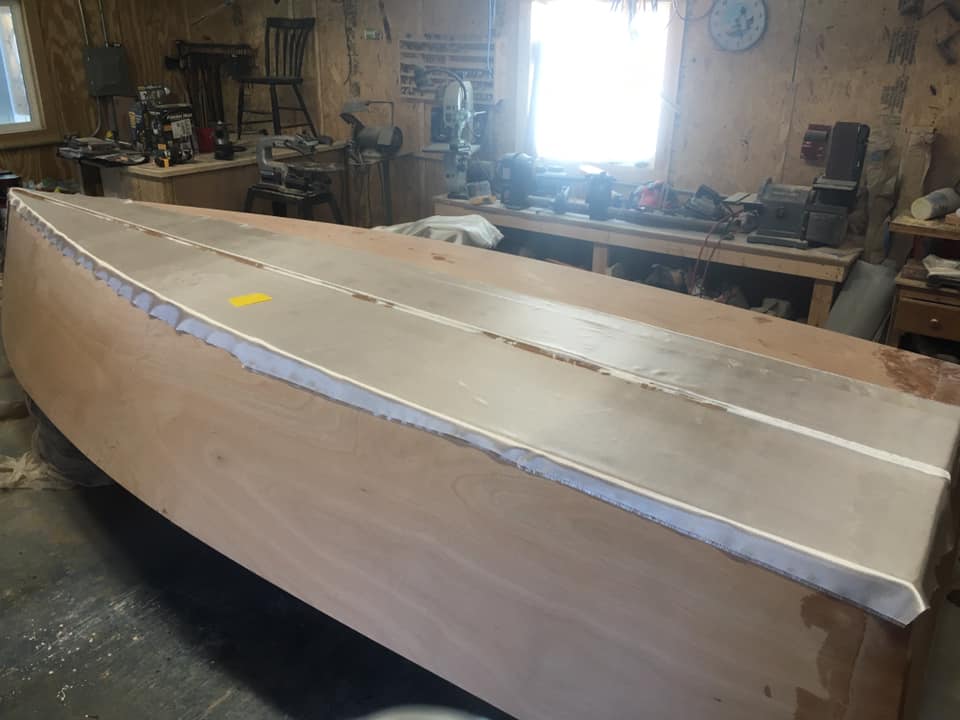
I decided to shape the ends of the skids extensively to make for an easier time fiberlassing an additional layer of glass over the entire bottom including the skids. I had a helper for this job! She chewed through the work quickly! After they were shaped, I attached them using CA glue, following the line I made earlier. Then, I filleted them on using a very big fillet tool. I had also cut out the air bubbles that had ended up along the butt block, so while I was at it, I filleted them in also.
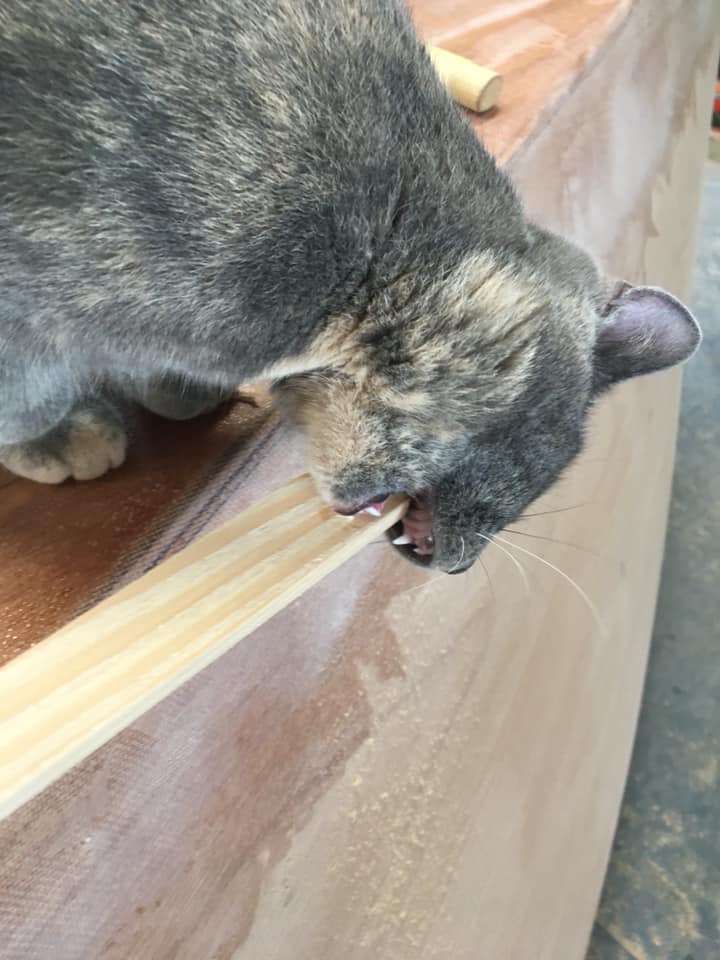
I pointed and rounded the ends of my skids using my cat to chew them down. If you don’t have a cat, a Shinto rasp should work really well!
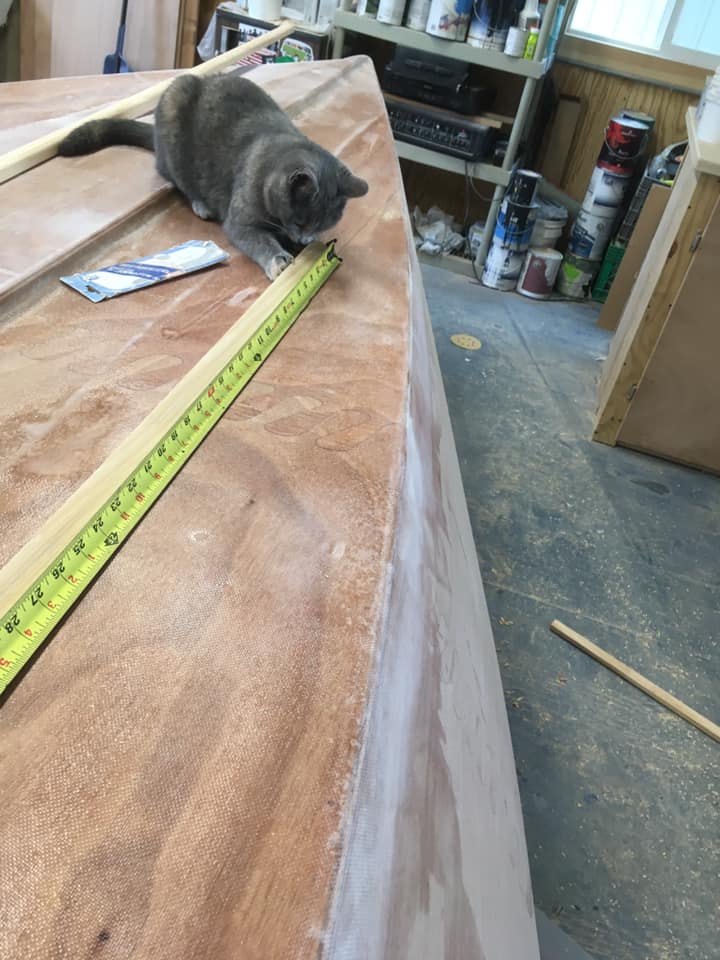
Once the length is determined for one side, measure the board and repeat the cut on the other piece. It is nice to have a helper hold the end of the measuring tape.
Glued along the lines I marked out with CA glue. If I didn’t have CA glue, I would have screwed or nailed these using brass fasteners that stay in.

Big fillets on the skids!
Next, I decided to fiberglass both of the sides. I put plastic on the floor, knowing this would be messy. About two thirds of the way down one side, I ran out of epoxy. More cussing! I really love my shop in the mountains of WV. But, my place is about two hours from anywhere that I can buy epoxy. So, I cut the glass back to where it was wetted, and planned a trip to Annapolis to resupply.
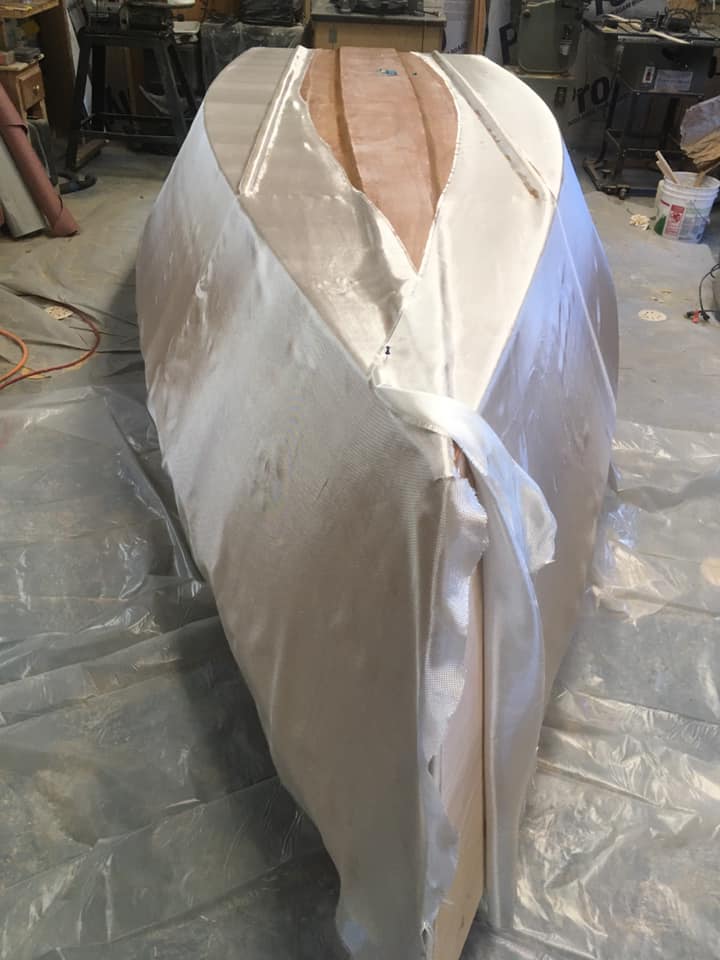
Hanging the glass on the sides. Use push pins to hold it on.
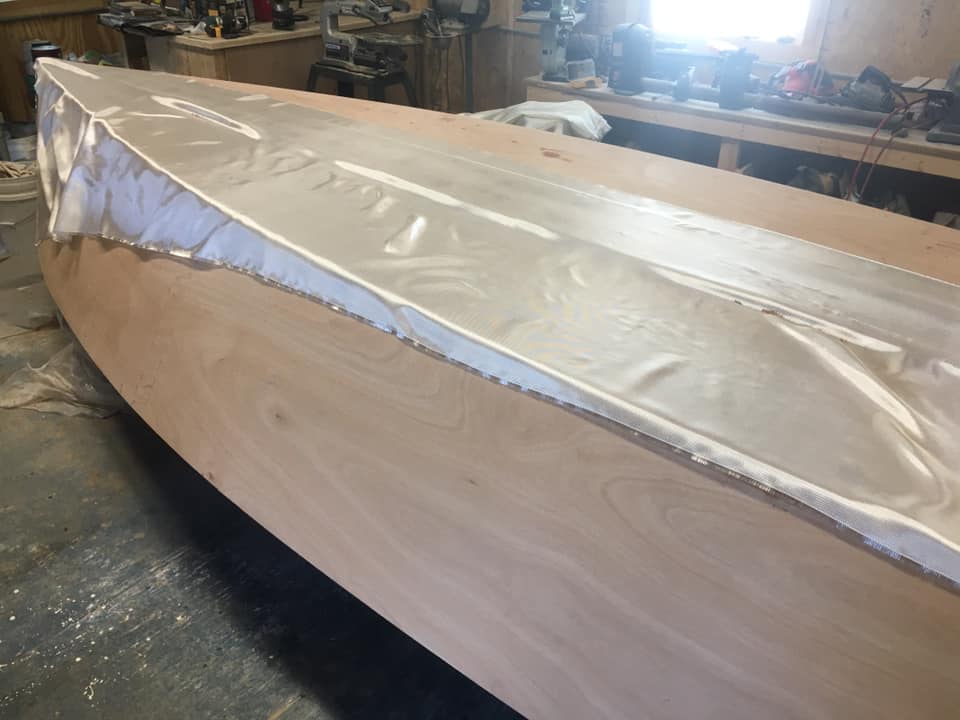
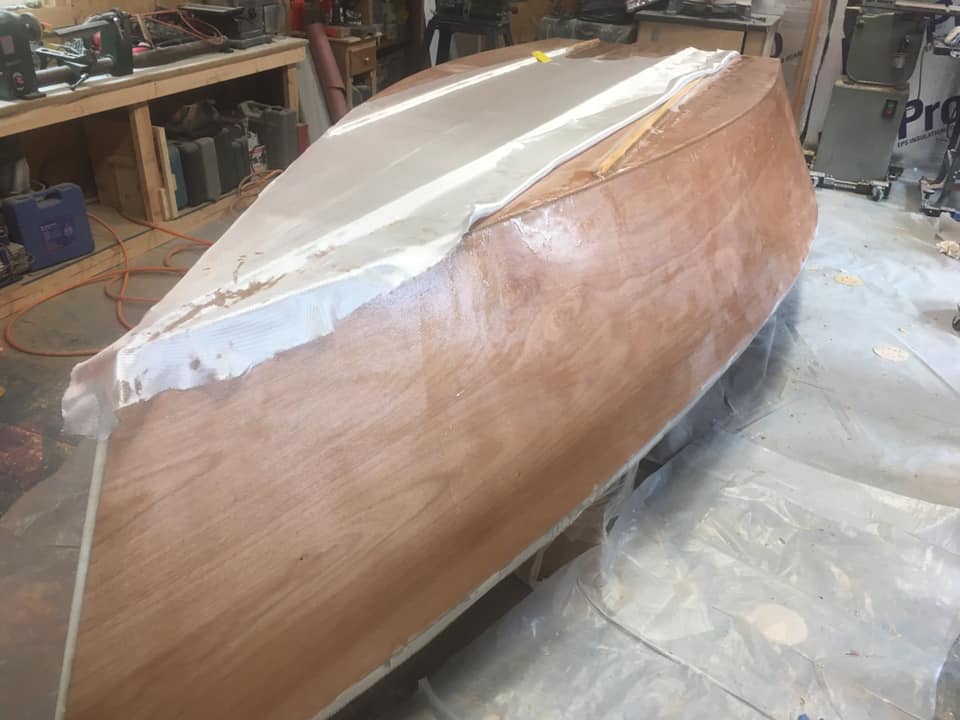
When I got back to it, I decided to go ahead and do the final layer over the bottom with the sides. I laid it all out and then carefully folded the bottom glass inboard to avoid wetting it prematurely. I am keeping in mind how difficult it is to lay the glass into those concave places, so I am saving that for last. After wetting the sides, I began in the center of the bottom, and worked outward along one entire side, before moving to the other side. Because of the difficulty of avoiding “bridging” of the glass, I left the glass on the bottom a good deal wetter than I would in any other place. Fiberglass floating in epoxy is much stronger than fiberglass with big air bubbles under it, so this is a necessary concession. Of course you dry the weave as much as you can, but when you can no longer so much as breathe on it without pulling up a bubble, it is time to call it wonderful! And wonderful it is! All of the fiberglass work is now done! And it is looking pretty good!
The side glass reaches far enough over the chine to make it possible to get the bottom done in one piece that overlaps the side glass!

Fiberglass done!


