
 return to section:
 Day 9, Peeler Skiff build for Chesapeake Light Craft.
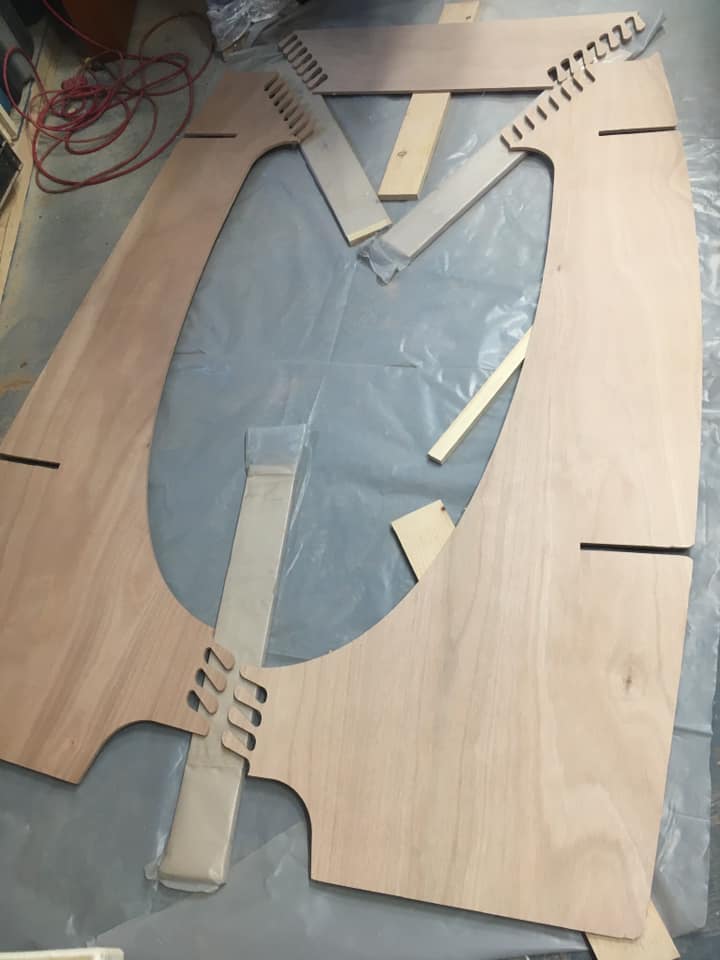
Today is actually a continuation of yesterday when I joined all of the seat panels together at their puzzle joints. This was an easy job, that took very little time. This job requires a pretty big spot on the floor, so the majority of the project was creating a clearing to lay out the panels. Once that was done, I was able to epoxy them together using boards covered in plastic and weighed down with heavy weights. My panels have become a little warped so it took more weight than normal, but I got it done.
Today, I sanded the entirety of the interior of the boat. All of the joints, as you may recall, were reinforced with fiberglass tape. The fiberglass tape has edges that never lay flat. Sometimes they will even feel kind of sharp. At any rate, the transition from the flat surface to the fiberglass tape reinforcement will eventually need to become completely flat. So, before the next application of epoxy, I go ahead and sand the hell out of them.
I should be clear here, to avoid getting anyone riled up. I don’t sand away the tape, but I do sand away the edge that is sticks up proud, as well as any wrinkles that may be in the tape. The end result is a flat fiberglass tape with a small area of unsanded epoxy along each edge of the fiberglass tape. Any air bubbles will become obvious at this point as well, and should be opened up for the epoxy to fill on the next coat. It will probably take two more epoxy fill coats to get it completely flat. While sanding the edge away, I keep the sander flat on the surface trying not to hit the corner of the joint with the sanding pad’s edge. This could cut through the glass and weaken the joint. When the pointy edge is off and I begin to see the fiberglass weave on the face of the glass, I move on. I always use a shop vac hooked to my sander, and a particulate respirator whenever I am sanding fiberglass or epoxy. If you don’t, microscopic particles of fiberglass will be inhaled and lodge into your lungs where they will stay. This could lead to serious problems down the line, so don’t try to be a tough guy, wear a respirator, or at least a dust mask.
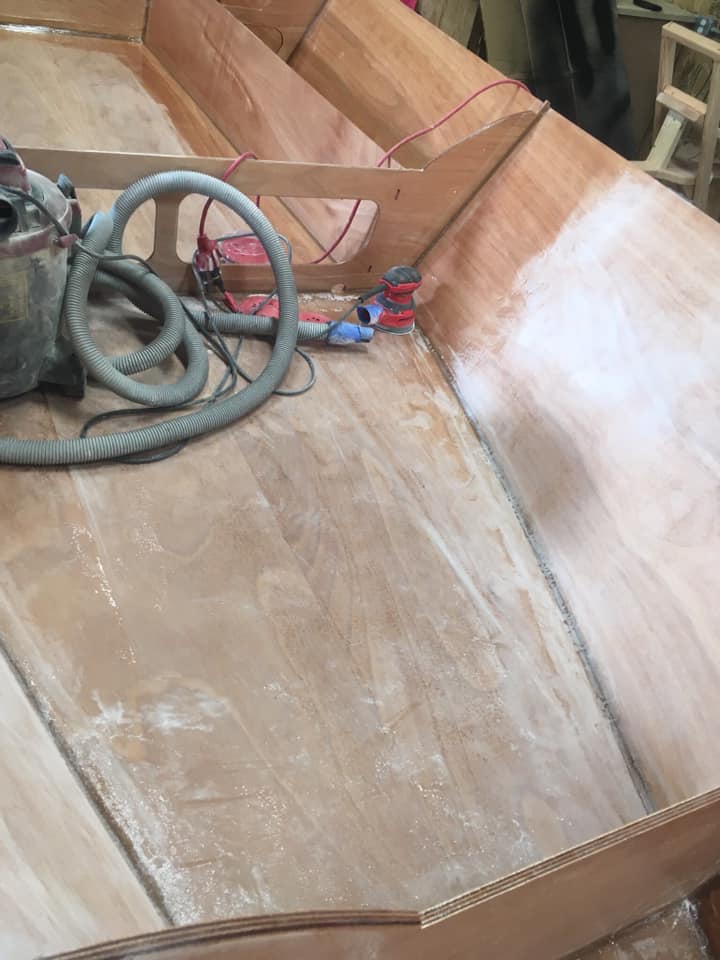
Having applied one fill coat over the fiberglass tape and fillets, I was able to make serious progress flattening the transition. Fiberglass tape leaves a very high edge, and being 9oz cloth, it takes several fill coats to level out. Hitting it hard at this point, after a first fill coat, makes it somewhat easier to get a fair transition later. It will take at least two more fill coats to level this out. In the case of an exterior seam, such as a bow stem, that has been reinforced with fiberglass tape, I might go ahead and smear some epoxy thickened with fairing filler like West System 410 or micro balloons. These sand very easily, and make quick work of fairing these difficult transitions. Both 410 and micro balloons need an epoxy fill coat over them before beginning primer and paint, so after the first fill coat is the best timing. Of course this can only be done if the surface is going to be painted.
Clearing a spot this big on the floor is the most difficult part of this job! Boards under the joints are covered in plastic to avoid becoming glued to the seats.
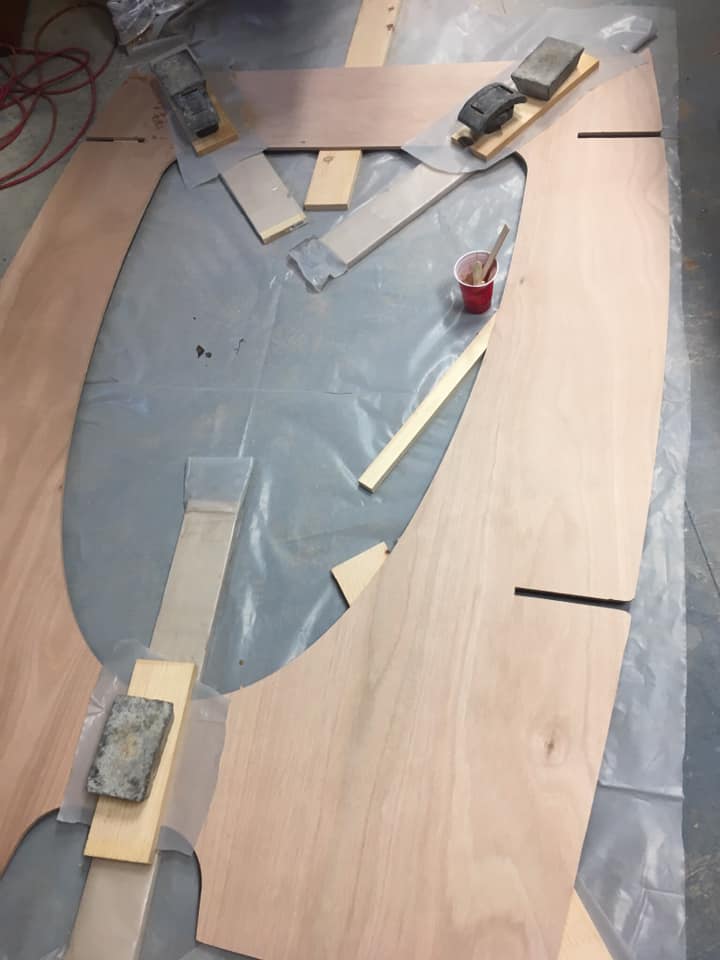
Boards on top sit on plastic and are weighed down with weights.
I wanted to get the undersides of the seats up to the same stage of fill coating as the insides of the watertight compartments, so I finished off by applying the first fill coat to the undersides of the seats. While I was at it, I went ahead and installed the edge stiffener to the forward seat. For this I simply brushed the left over epoxy from the fill coat onto the mating surface of the piece and clamped it right on. I didn’t see any need to mix any thickening agents into this joint since it is glued face to face with no possibility of voids. The big seat assembly gets a similar edge treatment, but I will need to rearrange some things to get that done. Maybe later today.
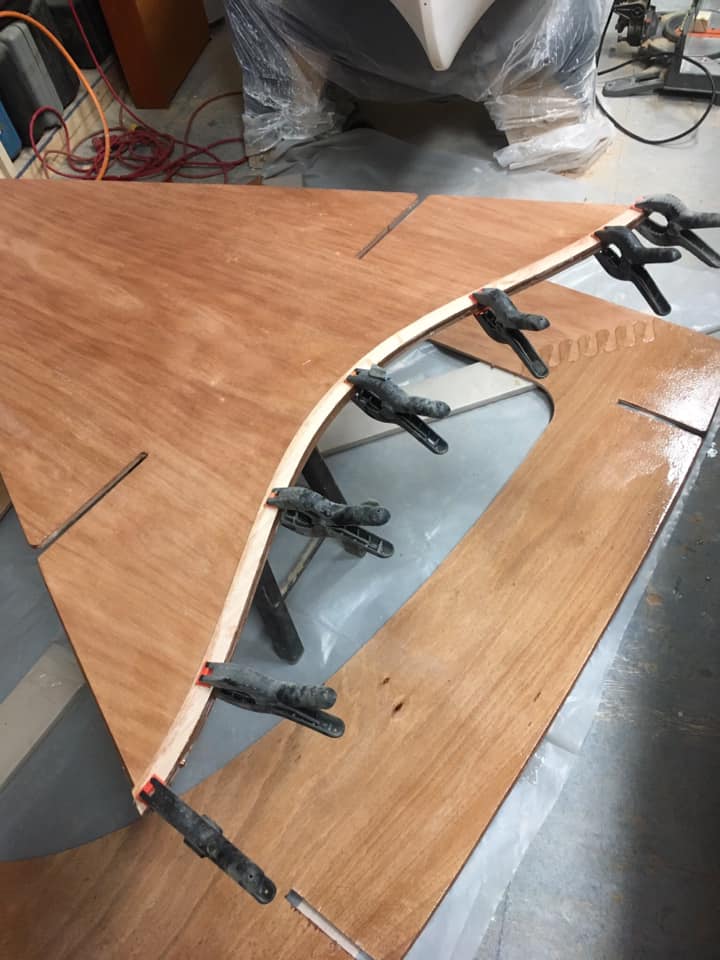
The first of two fill coats to the undersides of the seats. I went ahead and glued the edge stiffener to the forward seat. It is balanced atop a stool. Space is tight. I keep some of these cheap plastic clamps for times when they work better than the metal ones. In this case, the metal ones were too heavy and threw off the balance, so the lighter plastic ones were used instead.
That’ll do for now.


