
Builders' Forum |
|
| ↓ Scroll to Last Comment ↓ | Forum Guidelines | Builders' Forum | |
Stitching together Tenderly bow
I've been having the devil of a time getting the panels stitched together at the bow on the Tenderly....and just now I cracked one of the #1 panels about 1.5 inches from the end trying to pull it in line to stitch. I see in a thread elsewhere on this forum that I can probably repair the cracked panel end by epoxying it. Should I also use a glass patch on one side? Both sides? Or just epoxy alone? Any suggestions are appreciated.
As are any suggestions on how not to do that again and still get these recalcitrant ends to come together. First, I think I'll go have a good cry and a nap; I'm pretty upset.
BTW, this is my first time with stitch and glue (so far, not a fan) but I'm not entirely new to boat building having built a cedar strip canoe several years ago.
Thanks.
7 replies:
RE: Stitching together Tenderly bow
Thanks, Birch2.
I should've thought of steam softening. The manual is invaluable but I have to remember to think "outside the page" as well: Listen to the wood, not just follow the steps.
Once I decide how best to repair the small (now fully broken off) piece, I'll definitely get out the heat gun, water, & rags, and proceed more slowly and gently.
RE: Stitching together Tenderly bow
Barbara,
Be sure you get in touch with CLC support and let them know what happened. If it's a bug in the manual, they'll be able to fix it for the next revision. If it was a flaw in the wood, they're excellent about standing behind their products. I'm not a CLC employee so I can't make any promises on their behalf, but they have a long record of making their customers happy and will work with you to do so. The only thing is, you have to get in touch with them directly, not just post on this forum. They don't have time to read every post.
Laszlo
RE: Stitching together Tenderly bow
Thanks, Laszlo. I'm afraid the main flaw was probably in my technique, though a tip in the manual to consider steam softening the panels before bending them into a stem would have been helpful. I'll make that suggestion to tech support for next time.
RE: Stitching together Tenderly bow
Barbara, congratulations on choosing to challenge your skill level with this new endeavor!
Strippers are - relatively - easy for first-timers, in that the shape is defined by the frames over which hull strips are placed. Smaller pieces usually means it’s easier to get them into position.
With your new project bear in mind there’s no shame in using whatever means you have at hand to ‘coax’ planks into position rather than just trying to motivate them by using the wires used for stitching. If you can bring clamps and/or blocking to the task, so the plank being fitted gains some reinforcement rather than having to hold up to the stresses otherwise placed on it, you may find your tasks easier in the short run & more satisfying in the long.
Nothing wrong with heating/steaming when required but with thin plys be watchful for overheating (which will weaken plywood if taken to extremes) or trying to glue up too soon before planks have returned to moisture equilibrium.
I’ll be looking forward to reading your further posts, maybe accompanied by pictures!
My first stripper was a 14’ sailing scow I built from plans starting late in 1972. Been dreaming about something next ever since! Closer now with a Waterlust kit at hand but first I need to finish other tasks to free up time & space for its assembly.
RE: Stitching together Tenderly bow
Thanks to all for suggestions and cautions. I repaired the broken panel tip with epoxy and a small patch on either side. The repair is solid and looks okay.
I decided not to use steam as I got nervous about ruining the plywood somehow. I did use lots of creative bungee cord clamping over the course of several days to gently persuade the wood to bend. Turned the hull over to get at the bottom-most panels, and turned it back up to continue stitching. FInally, five of the seven strakes are stitched up at the bow, stem straight, and looking basically like the pic in the manual. Fairly frustrating experience, I confess.
Anyway, thanks for your help, folks.
RE: Stitching together Tenderly bow
>>>>I fitted one of our demo model Passagemaker sloops with a wooden mast.
The best tip for stitching up a Tenderly Dinghy appears on Page 53 in your hymnal: "It helps a lot to have a helper who can hold parts in position while you tighten the wires."
And so it is for nearly all of these stitch-and-glue boats. Another pair of hands takes the tussle out of it. I've not had to resort to hot water on a Tenderly bow, but that'd be the way to ease the bends if you must. (I don't like to steam plywood. It can stain.) I've just always had a helper.
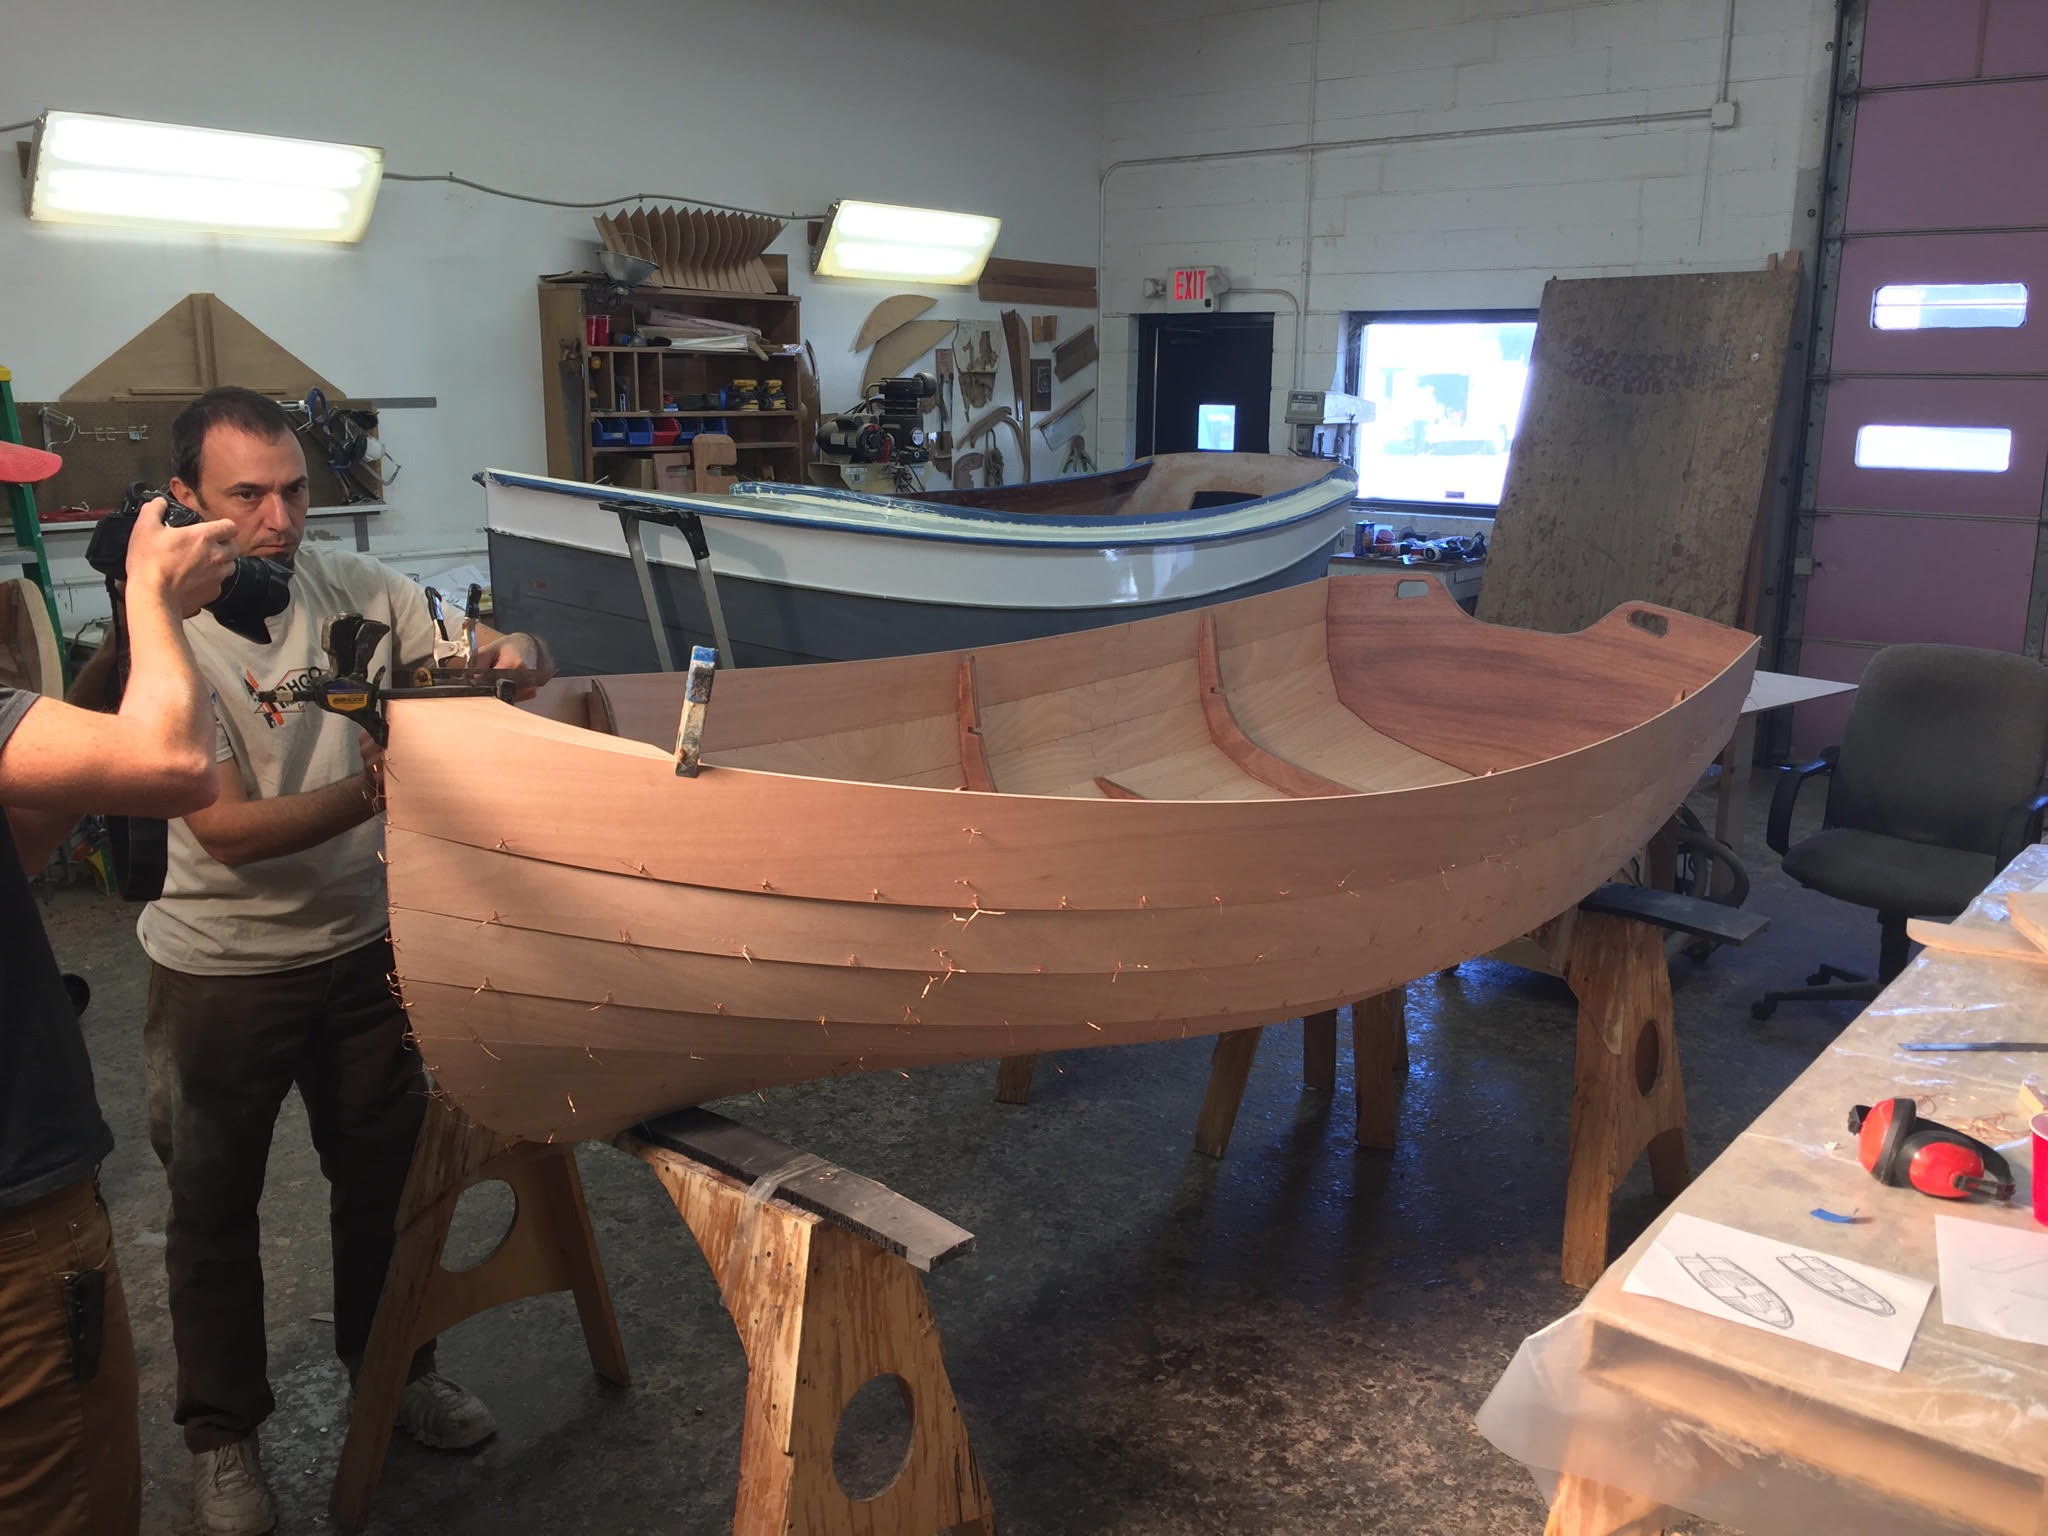
Here's Dillon and Travis juggling wire stitches, the breasthook, and a camera while building one of the prototypes.


RE: Stitching together Tenderly bow
» Submitted by Birch2 - Sat, 12/2/17 » 8:42 PM
I'm not sure how to repair the crack, but I'm sure others will give you some good advice.
As to avoiding future cracks, the obvious thing is to consider moisture (or steam) to soften the wood in areas of forceful bending. The other key thing is to proceed gradually. Give the wood fibers time to stretch and adapt to all that you are demanding of them. Lastly, drill additional holes for more stitches when needed.
So far, I've made a Northeaster Dory and a Shearwater Sport Sectional. I think both boats have turned out beautifully (though I did face minor challenges). I'm confident that your own boat will end up being a delight on the water.