Builders' Forum |
|
| ↓ Scroll to Last Comment ↓ | Forum Guidelines | Builders' Forum | |
pulling stitches after the fillet "gels"
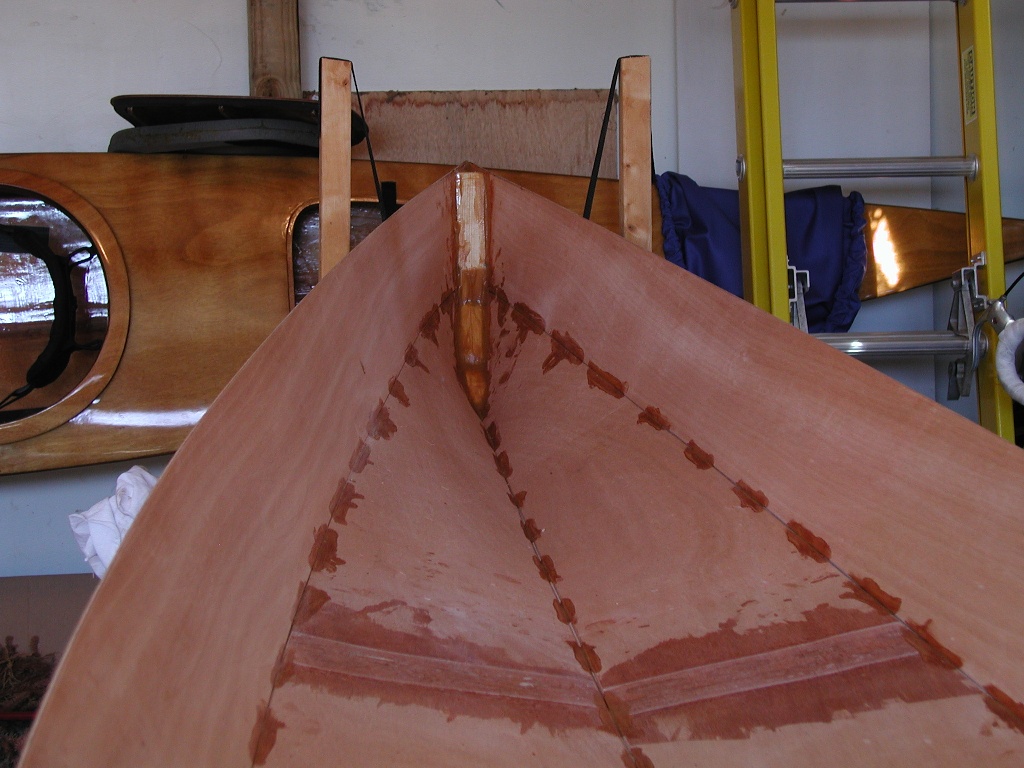
i'm building the teardrop camper storage box. unlike the process with the TD (stitch, CA weld, pull stitches, fillet), the hymnal says to stitch the panels together, then apply fillets (no CA weld) and after the fillets "gel", pull the stitches, using a heat gun if necessary.
in this context, what does "gel" mean--wait a few hours for the fillet to firm up but not completely cure, or does "gel"="cure"?
the only panel i'm concerned about is the front of the box, which is a piece of 6mm plywood that has to curve around the bow at the front of the box. i really had to fight the panel to curve it and stitch it in place, and i'm worried that if the fillet isn't totally cured the panel will pop off when i pull the stitches.
thanks
ken
9 replies:
RE: pulling stitches after the fillet "gels"
great idea on the stretch wrap. i will substitute duct tape since i don't have any stretch wrap. so--heat will soften the cured fillet enough to pull the stitches out?
thanks
ken
RE: pulling stitches after the fillet "gels"
The nice thing about the stretch wrap is it won't leave any residue like duct tape might. You can use just regular, cheap generic plastic wrap from the supermarket. Find the big economy sized roll and just put several turns around the hull.
As for the stitches, on my first LapStitch boat, many years ago, I left the wires in until the entire seam was epoxied, hard. I used my old, cheap Craftsman soldering gun to heat the wire after snipping it with wire cutters close to the joint on one side. Pull on the long end w/ pliers while applying solder gun to wire, and it will slide right thru. With a high power solder gun, it takes maybe 5 seconds of heat.
RE: pulling stitches after the fillet "gels"
I found all of that very cumbersome, especially having to wait for the fillet to cure to just the right consistency.
What I ended up doing was creating 3/4" fillets between the stitches and letting them cure overnight. Pull the stitches, then go over the whole boat with 1" fillets. These will cover the previous fillets and create a continuous bond. No worries about pulling stitches out of cured epoxy, etc.
RE: pulling stitches after the fillet "gels"
'Gel' refers to a soft cure, once the epoxy stops running but is still soft. A highly stressed joint will not be stable at 'gel'.
I don't pull seam stitches at all. On the fillet side I press them inward towards the seam with a screwdriver so they get buried in the fillet. On the outside I clip the stitches and file them down. Easy. Nothing wrong with seeing the stitches on the inside of the boat (or camper).
RE: pulling stitches after the fillet "gels"
When I built my Skerry hull in a WoodenBoat School class down at CLC, we used butane lighters like you'd use for a grill. Grab the wire with pliers, apply heat to the wire, and pull. The copper wire is very conductive, so nothing else even got warm. Very fast and very easy.
hokker
RE: pulling stitches after the fillet "gels"
I had access to stainless seizing wire when I built my boat which is a bit more tenacious than copper, so had to pull it. My method described above works for any wire you might use and even zip ties.
RE: pulling stitches after the fillet "gels"
A variation on the method that Skully mentions is instead of using short 3/4" fillets, just use smears of epoxy. Then after you pull the stitches, you can put down a normal fillet just once.
The smears may not look like much, but they are enough to hold the hull together, given a full cure. Being so small, they also allow the minimum-needed fillet size. I've used this method on boats as light as a WD12 kayak up to my 18-ft schooner with a 1/2" thick bottom and 1/4" thick sides.
Have fun,
Laszlo


RE: pulling stitches after the fillet "gels"
» Submitted by Laszlo - Mon, 9/11/17 » 8:00 PM
Ken,
For my boats with their curved hulls I always wait at least 48 hours. For extra stressed joints, I wrap them with shrink wrap before pulling the stitches.
Good luck,
Laszlo